Cannot change default browser for webloc files in Ventura [Fix]
In this guide, we will show you a nifty workaround to mitigate the issue of being unable to change the default browser for Webloc files in Ventura. A Web Location file, as is evident from its name, is a website shortcut generated by the web browser that contains a URL to a website. All that you need to do is simply drag and drop the URL from the browser field over to your desktop and the corresponding file will be created.
There are no brownie points in guessing that this file should automatically be opened with your current default browser. However, Apple seems to think otherwise. Irrespective of your current default browser [Firefox, Chrome, etc[ this file will always be opened in the Safari browser. If you right-click on a webloc file > select Get Info > and go to the Open With section, then it will be hard coded to Safari [even f it isn’t your default browser].
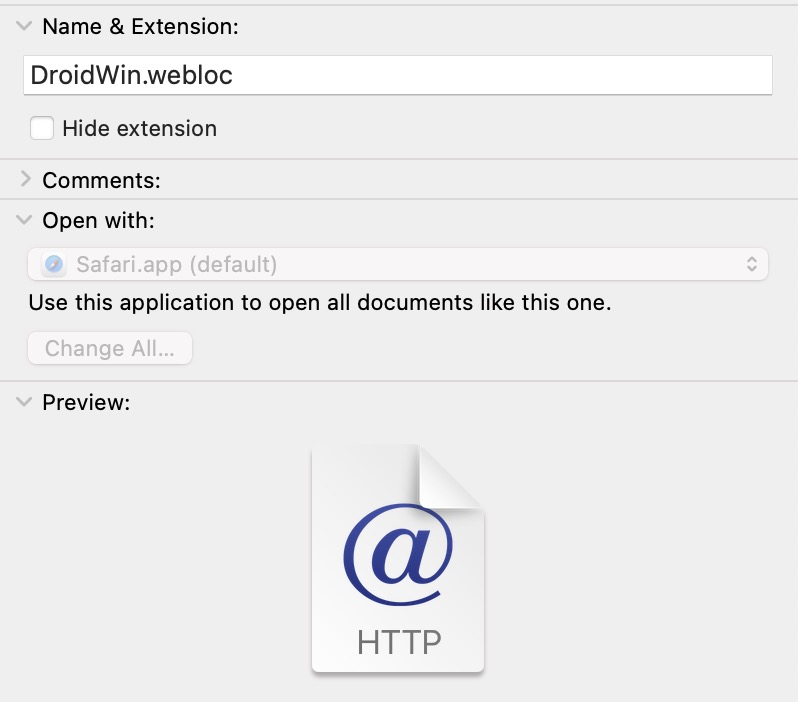
Moroever, even the drop-down browser selection menu, as well as the Change All button, will both be greyed out. This issue first came to light after the macOS Ventura 13.1 update and is yet to be ascertained whether it is an intended change or a bug, though the possibility could be of the latter. With that said, there does exist a nifty workaround that should help you address this issue. So without further ado, let’s check it out.
- Fix Cannot Change Default Browser for webloc files in Ventura FIX 1: Convert webloc to HTML FIX 2: Use the ‘Open With’ Tweak FIX 3: Using Open Source App
Fix Cannot Change Default Browser for webloc files in Ventura

FIX 1: Convert webloc to HTML
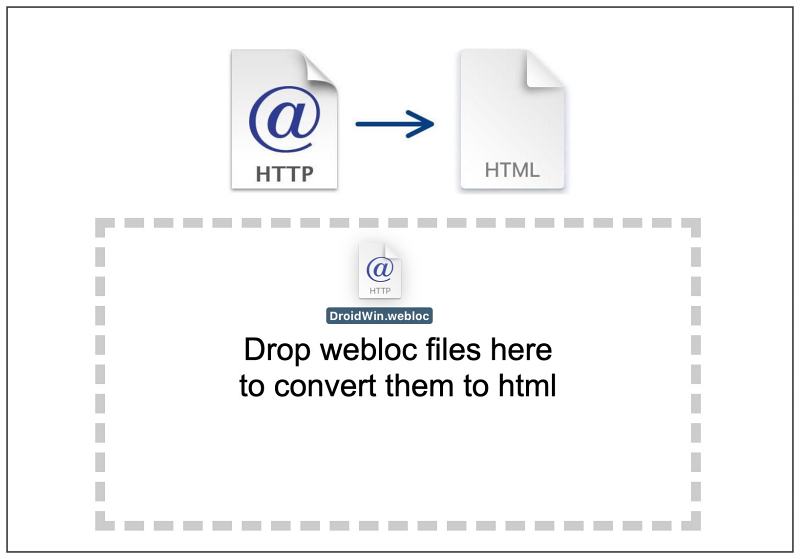
One handy workaround that is spelling out success for the users involves using a webloc to HTML converter website . All you need to do is drag and drop your webloc files over to that site and it will convert them to HTML. You could now easily open that HTML file with your default browser [Chrome, Firefox, etc] and it will automatically open the URL that is in that HTML file.
FIX 2: Use the ‘Open With’ Tweak
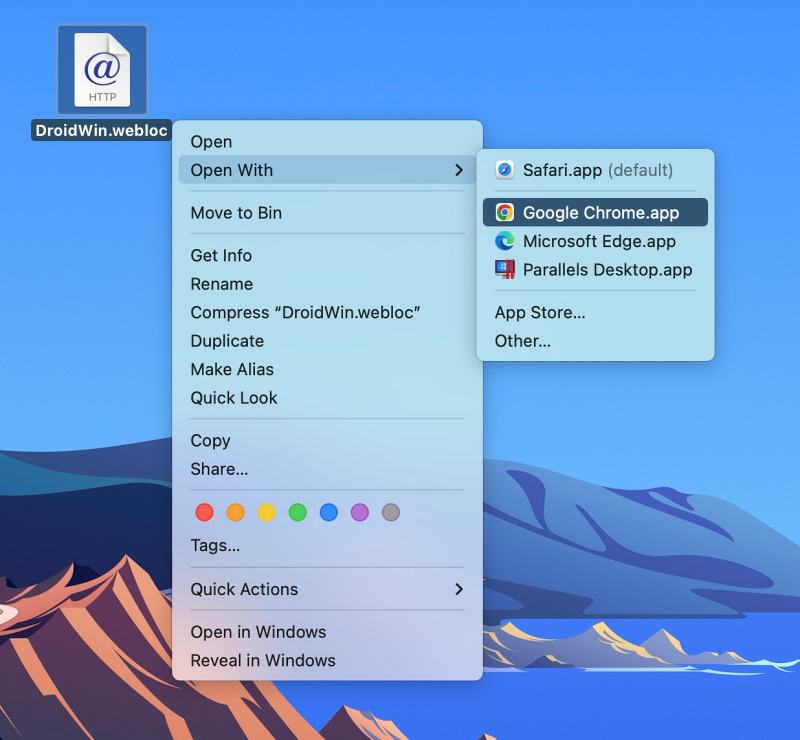
However, uploading your files to a website might not be the best course of action for every user due to privacy concerns, and that is completely understandable. If you also fall in this bracket, then your best bet is to right-click on the webloc file, select Open With, and then choose the browser of your choice. While this will take a few additional seconds especially when you dealing with many webloc files but you will at least have a stamp of safety.
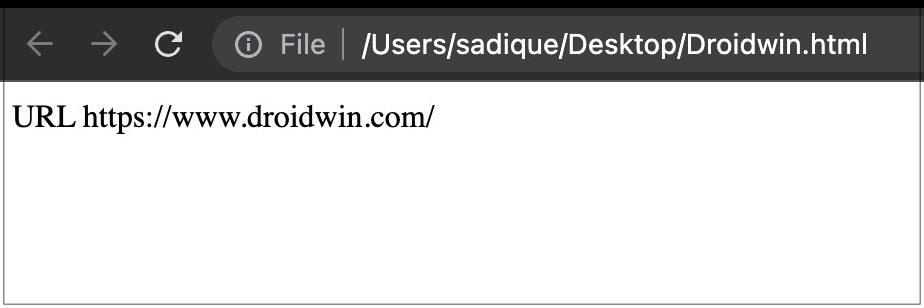
NOTE: If you manually change the file extension from webloc to HTML, then you will be still able to open the HTML file with your default browser, however, it will simply display the content of that HTML file, instead of opening that associated link. To actually open the link inside that file, you will have to drag and drop that file into the browser window.
FIX 3: Using Open Source App
Apart from that, there also exists a nifty open-source app that will allow you to get this job done. Here’s how:
- To begin with, download the Swift Default Apps from GitHub.
- Then install the System Settings preference pane via the .prefpane file.
- Now go to Uniform Type Identifiers and select com.apple.web-internet-location.
- Then click on “Other…” in the Viewer selection panel and add your default browser.
- Then select the browser of your choice and hit Add.
- Once done, you would get the success message. The webloc file will now open in the default browser of your choice.
- Moreover, if you go to that webloc file’s Get Info page, it will now show the browser that you had selected above [such as Chrome in my case].
With that said, we round off this guide on how you could fix the issue of being unable to change the default browser for Webloc files in Ventura. As far as the official stance on this matter is concerned, the developers are yet to acknowledge this issue, let alone give out any ETA for the rollout of a fix. As and when any of these two things happen, we will update this guide accordingly. In the meantime, the aforementioned workarounds are your best bet.
- How to Stop Background Item Added Notification in Ventura
- Ventura Print Preview too large/Print Button hidden [Fix]
- Advanced Date and Time setting missing in Ventura [Fix]
- Mac Spotlight Search not working on Ventura: How to Fix

- cpX 3 years ago Reply Thank you, works on my MacBook Air M2 running Mac OS Ventura 13.1. Finally I can work quickly again.
- Frank Martin 3 years ago Reply Thanks for writing this up. I did #3 and it is great.
- Phil 3 years ago Reply Super ! Thanks a lot for your help. Fix 3 is a must 👍
(Cancel Reply)
Δ
Ventura Print Preview too large/Print Button hidden [Fix]
In this guide, we will show you various methods to fix the issue of the Print Preview screen being too large which in turn tends to hide the Print button in Ventura. The latest macOS build brings a slew of noteworthy features to the fore. On the flip. side though, it has taken some questionable decisions [such as the removal of network location] and issues with the second display are bugging users to this date.
And now, there has been another entry to this list, which is mostly from the UI/UX point of view. In Ventura, the Print Preview window has been enlarged to such a degree that it ends up hiding the Print button or pushes it beyond the Dock . To make matter worse, you cannot even move this print window or maximize/minimize it.
This is resulting in a great deal of inconvenience [and infuriation] to the users as they are unable to take a printout of their documents. If you are also in the same boat, then this guide will make you aware of some nifty workarounds that should help you mitigate this issue. So without further ado, let’s check them out.
- Fix Ventura Print Preview too large/Print Button hidden FIX 1: Hide Expanded Menus FIX 2: Move Dock to the Left/Right FIX 3: Auto Hide Dock
Fix Ventura Print Preview too large/Print Button hidden
It is recommended that you try out each of the below-mentioned workarounds and then see which one spells out success for you. So with that in mind, let’s get started.
FIX 1: Hide Expanded Menus
First off, if there are any menus that you have expanded, then collapse them right away. This is because the expanded menus tend to take additional space and hence push the Print button beyond the dock.
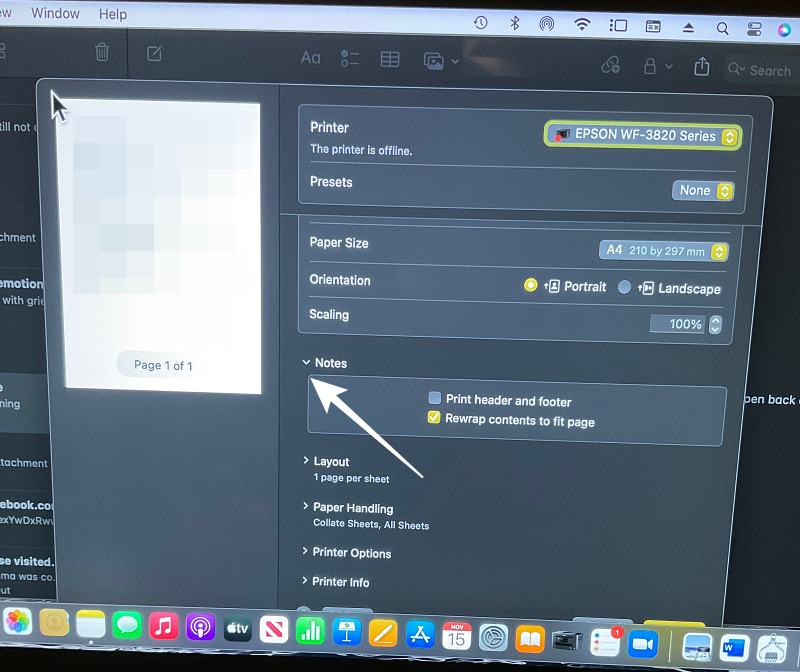
As you could see in the above image, the Note menu is expanded and hence it increases the Preview window size. So collapse it via the downward arrow and it will then push up the window, which in turn will bring up the Print button.
FIX 2:Move Dock to the Left/Right
You could also consider moving the Dock window to the left or right side of the desktop, instead of its default bottom position. Once you do so, you will then be able to easily access the print button. So refer to the below steps to give this tweak a try:
- Open System Settings and select Desktop & Dock from the left.
- Then go to Position on Screen and select either Left or Right.
- The Print button will no longer be hidden in Print Preview on Ventura.
FIX 3: Auto Hide Dock
If you don’t want to permanently send the dock to the left or right side, then let it remain at the bottom but at the same time, enable its Auto Hide feature. So as soon as you take the away from the dock, it will hide and you will then be able to access the Print button. Here’s how all of this could be carried out:
- Open System Settings and select Desktop & Dock from the left.
- Then enable the toggle next to Automatically Hide and Show the dock.
- Advanced Date and Time setting missing in Ventura [Fix]
- Excel crashing in SMB network drive on Ventura [Fix]
- Mac Ventura SMB: Items can’t be copied to folder error [Fix]
- Mac Spotlight Search not working on Ventura: How to Fix
- Ian Bruce 3 years ago Reply None of these suggestions worked for me. If I click on the printer info option (or watermark) the print button appears as it should have in the first place.
(Cancel Reply)
Δ
