Cannot Format External SSD using Disk Utility on Mac [Fixed]
In this guide, we will show you a couple of nifty workarounds that shall help you fix the issue of being unable to format the external SSD using Disk Utility on Mac. Many users have recently voiced their concerns that they are unable to mount and format their external SSD. While t he drive shows up in Disk Utility, but mounting does nothing [though they are able to easily mount and read the drive when connected to NAS].
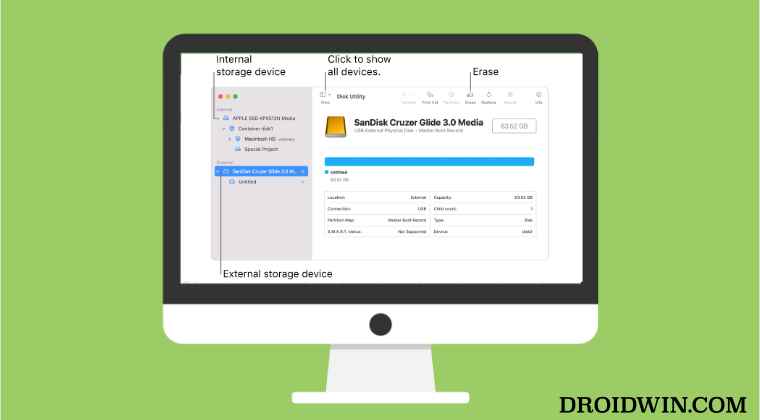
When they select their external volume, choose Erase, then AFPS for the file system, and finally click on the “Erase” button, the D isk Utility seems to get stuck on the “Unmounting Disk” step. or some, the Disk Utility does say “Erasing ‘Extreme SSD’ but nothing seems to be happening in reality.
Moreover, most of the issues are coming from Western Digital and Sandisk users. And the issue is persistent across Sierra, Big Sur, and Monterey. If you are also unable to format the external SSD using Disk Utility on your Mac, then this guide shall help you out. Follow along for the fixes.
- Fix Cannot Format External SSD using Disk Utility on Mac FIX 1: Use USB 2.0 USB C to USB C cable FIX 2: Using sudo pkill -f fsck Command
Fix Cannot Format External SSD using Disk Utility on Mac
It is recommended that you try out each of the below-mentioned workarounds and then see which one spells out success for you. So with that in mind, let’s get started.
FIX 1: UseUSB 2.0 USB C to USB C cable
You can use a USB 2.0 USB C to USB C cable to connect your portable SSD to your Mac and then erase the partition to APFS. The USB charging cable that came with Macbook Pro prior to M1 magsafe cable should do the job as well.
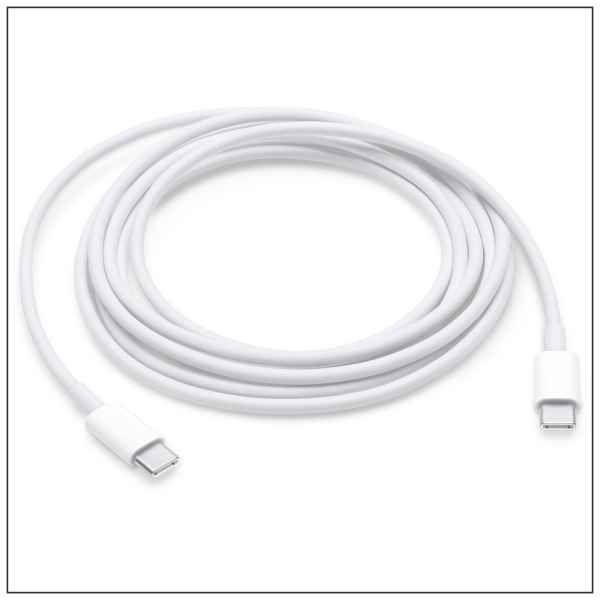
So use that cable and you should haver no issues in formatting your external SSD using Disk Utility on Mac. One done, you can then switch back to use those fast USB C to C cable to connect the SSD and it will read/write normally at full speed.
FIX 2: Using sudo pkill -f fsck Command
- Using the below command, we found out that it was the fsck that was actually preventing the disk from getting formatted. ps aux | grep fsck
- So you should execute the below command to immediately allow the volume to be mounted without any issues- sudo pkill -f fsck
- Now, to make the hard drive writable, you have to run the Disk Utility S.O.S., unmount then mount it again. That’s it.
- Time Machine: The backup disk image sparsebundle could not be accessed (error 16)
- Netbiosd High CPU Usage on Mac: How to Fix
- How to Find if my PC has HDD, SSD, or NVMe
- SMB Samba Share not working in macOS Monterey: How to Fix

(Cancel Reply)
Δ
