Chromebook Black Screen when trying to sign in [Fix]
In this guide, we will show you a potential workaround that could help you fix the Chromebook black screen issue when trying to sign in. These laptops from the Silicon Valley giants have escalated the popularity charts in no time whatsoever. It runs on Linux-based Chrome OS and was initially designed just for running web applications via Chrome. But since then, it has expanded its domain and now supports Android and Linux apps as well.
However, in spite of all the goodies that it has to offer, it isn’t free from its fair share of issues either. While users were already coming to terms with the screen flickering bug and internet connection problems , a new one has already made its way. As of now, various users have voiced their concern they are unable to log in to their Chromebook.
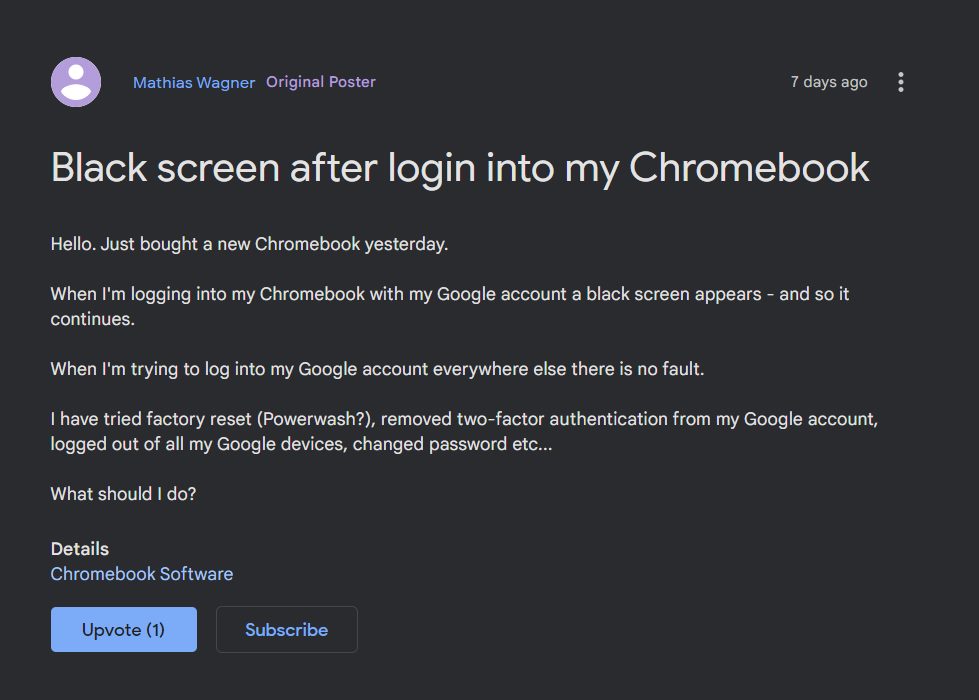
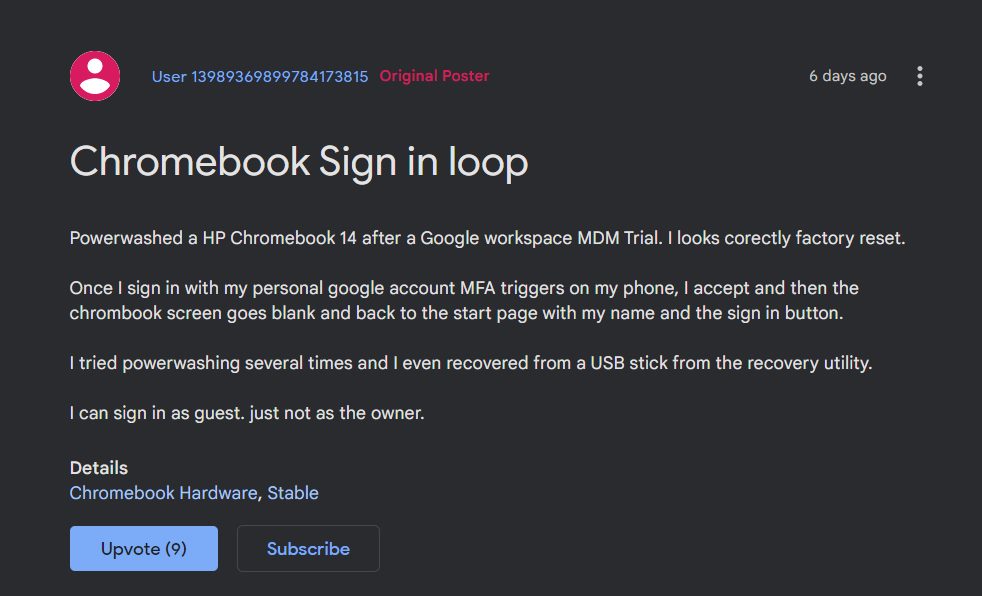
Whenever they are trying to do so, they are instead greeted with a black screen and are then taken back to the sign-in screen. And this loop goes on. If you are also in the same boat, then this guide will make you aware of a potential workaround that might help you fix the Chromebook black screen issue when trying to sign in. Follow along.
Chromebook Black Screen when trying to sign in [Fix]
Users have already tried the basic workarounds of power-washing their Chromebook, switching to the developer channel, removing and re-adding the account, but to no avail. What spelled out success for the users was signing in via Guest Mode. What you need to do is click on the Browse as Guest button situated at the bottom left of the login screen. This should log you into the OS.

Once that happens, click on the Login button and enter your account credentials. This time you will be able to log in without any issues. Do note that while you are in the Guest Mode, you wouldn’t be able to carry out administrative-level tasks. Likewise, your browsing history, cookies, and caches wouldn’t be stored either. But everything will revert to normal once you sign in to your account.
While this workaround should help you fix the Chromebook black screen issue when trying to sign in, but that isn’t the most viable and feasible approach. So this then brings us to the all-important question- what’s the official stance on this? The developers are aware of this issue , but they haven’t given out any ETA for the rollout of a fix. As and when that happens, we will update this guide accordingly. In the meantime, the aforementioned workaround is your best bet.
- Network not available when setting up Chromebook: How to Fix
- Phone Hub Not Working: Cannot Connect Android to Chromebook [Fixed]
- Downgrade Chromebook Chrome OS to an Older Version
- HP Printer not working in Chromebook Chrome OS: Fix Filter Failed Error

(Cancel Reply)
Δ
HP Printer not working in Chromebook Chrome OS: Fix Filter Failed Error
In this guide, we will show you two different methods to fix the HP Printer not working Filter Fail Error in Chromebook Chrome OS v97. These laptops from the Search Engine giants were initially used mostly in schools, enterprises, and organizations. However, recently it has seen its popularity on the rise among everyday users as well, so much so that some have even made the jump from Windows to Chrome OS.
But we might not see that happening on the large scale any time soon, more so after its recent buggy phase. While issues with its Network and Phone Hub app is still yet to be addressed, a new bug has already made its way. All the users who have updated their Chromebook to Chrome OS v97 are reporting that their HP Printer is no longer working.
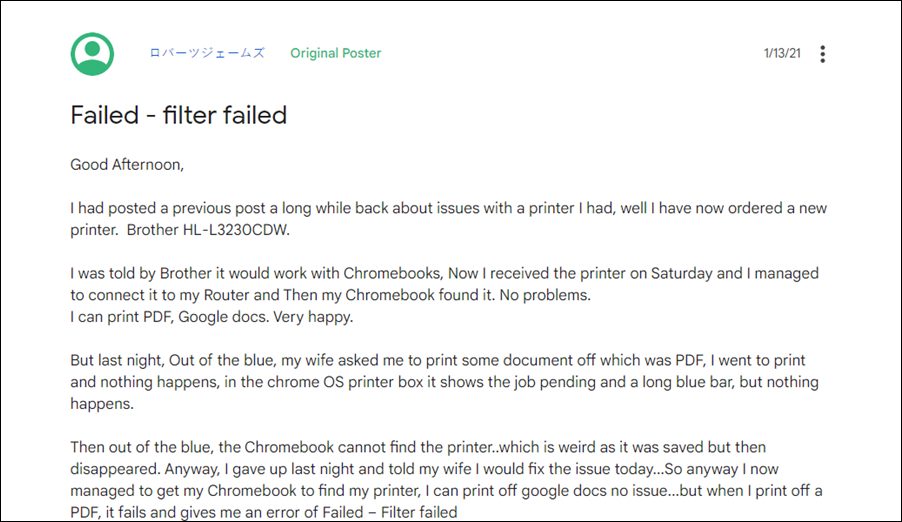
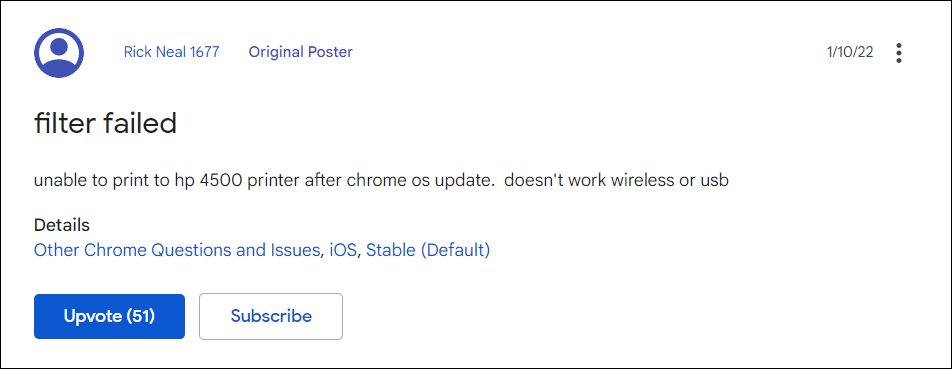
Whenever they are trying to print a file, they are instead being greeted with the Failed- Filter Fail error message. For some, even the printer is not appearing on their laptop. So if you are also getting bugged with this issue, then this tutorial shall help you out. In this guide, we will show you various methods to fix the HP Printer not working Filter Fail Error in Chromebook Chrome OS v97. Follow along.
- HP Printer not working in Chromebook Chrome OS: Fix Filter Failed Error FIX 1: Via HP Print Service Plugin FIX 2: Downgrade Chrome OS to v96 Downgrade Via Powerwash Downgrade via Crosh
HP Printer not working in Chromebook Chrome OS: Fix Filter Failed Error
There exist two different methods of rectifying this issue- using the Service Plugin app and via downgrading the OS. We have listed both these methods below. Go through them and then decide which one you should try out.
FIX 1: Via HP Print Service Plugin
- To begin with, install the HP Print Service plugin from the Play Store.
- Then bring up the print menu but instead of using the Print option, choose Save as PDF.
- Now save this file somewhere on your PC.
- Then open the Files app, navigate to that saved file, and select Share.
- Select HP Print Service from the share menu.
- Now select your printer and choose the desired print options (1 or 2 sided, color or black & white, etc).
- Finally, hit the Print icon situated at the top right and the page would be now printed without any issues.
- Check if it fixes the HP Printer not working Filter Fail Error in Chromebook Chrome OS v97.
FIX 2: Downgrade Chrome OS to v96
This issue is currently bugging Chrome OS stable version 97.0.4692.91 and Beta version 98.0.4758.51. In this regard, downgrading it to the earlier OS build version 96.0.4664.111 has rectified this issue for many users. But do keep in mind that this process will wipe off all the data on your device, so take a backup of all the data on your PC and then refer to our guide on How to Downgrade Chromebook Chrome OS to an Older Version [2 Methods] . The shorter instruction is given below:
Downgrade Via Powerwash
- Head over to the log-in screen and press the Ctrl+Shift+Alt+R shortcut keys.
- This will bring the Reset page. Again press the Ctrl+Shift+Alt+R shortcut.
- Now click on the Powerwash and Revert button situated at the bottom right.
- Your Chromebook will now be wiped and subsequently downgraded to the earlier version.
Downgrade via Crosh
- Then use the Ctrl+Alt+T shortcut keys to open the Crosh terminal.
- Now type in the below command and hit Enter: rollback
- Your Chromebook will now undergo a reset and will be downgraded to the earlier stable build.
- Network not available when setting up Chromebook: How to Fix
- Phone Hub Not Working: Cannot Connect Android to Chromebook [Fixed]
- Printer not working in Windows 11: How to Fix
- How to Fix Amazon Prime Video Error 7235 on Chromebook
(Cancel Reply)
Δ
