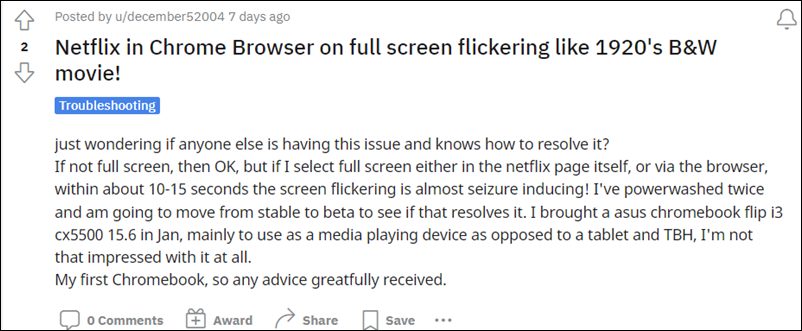
Chromebook screen flickers when watching videos in full screen [Fixed]
In this guide, we will show you two various methods to fix the Chromebook screen flickering issue when watching videos in full screen. In the past few years, laptops with the underlying ChromeOS have seen a tremendous rise. A full-fledged Google ecosystem with the ability to run Android and Linux apps, these Chromebooks were sold more than Mac in 2020, a fact that might have been unthinkable if talked about a few years back.
In more technical terms, the issue is more prominent when the “border-radius” styling is enabled and the window is less than 600px wide. With that said, there do exist a couple of workarounds that has been known to resolve this screen stuttering issue. And in this guide, we will make you aware of those fixes. So without any further ado, let’s get started.
- Fix Chromebook screen flickering issue when watching videos in full screen FIX 1: Disable Hardware Acceleration FIX 2: Use OpenGL as ANGLE Graphics Backend
Fix Chromebook screen flickering issue when watching videos in full screen
There exists two different methods to resolve this issue and we have listed both of them below. Try them out and then see which one works out in your favor.
FIX 1: Disable Hardware Acceleration
Chrome’s Hardware Acceleration features shift a part of the browser’s workload and dependencies from the CPU over to the GPU. This will free up some CPU resources which in turn could be allocated across some other tasks. On paper, it should speed up your browser’s performance but in practical terms, its perks have always been a matter of debate. But what isn’t debatable is the fact that turning off this feature seems to have fixed the underlying screen flickering issue. So let’s put it to the test and check out the results.
- Launch Chrome on your Chromebook and head over to the below location: chrome://flags
- Then go to its search bar and type in the following flag name: Hardware-accelerated video decode
- Then change its State to Disabled from the drop-down menu.
- Finally, click on the Relaunch button and wait for the browser to restart.
- Now check if it fixes the Chromebook screen flickering issue while watching videos in full screen.
FIX 2: Use OpenGL as ANGLE Graphics Backend
When dealing with resource-intensive tasks wherein the load on the CPU and GPU is considerably higher, you should use OpenGL as the ANGLE graphics backend driver. In the default state, that role is allocated to D3D11 and it might not be the best suited for the role of video playback functionality.
So let’s relieve it of its duty and hand over the task to OpenGL. do note that upon opting for OpenGL, there will be an improvement in the overall performance of your Chromebook, but it will also result in higher battery consumption. So if you are ready for this trade-off, then let’s get started with the steps.
- Launch Chrome on your Chromebook and head over to the below location: chrome://flags
- Then go to its search bar and type in the following flag name: Choose ANGLE graphics backend
- Click on the Default keyword and select OpenGL from the drop-down menu.
- Finally, click on the Relaunch button and wait for the browser to restart. That’s it.
- Once the browser restarts, the underlying issue would have been resolved.
- Network not available when setting up Chromebook: How to Fix
- Phone Hub Not Working: Cannot Connect Android to Chromebook [Fixed]
- Downgrade Chromebook Chrome OS to an Older Version
- HP Printer not working in Chromebook Chrome OS: Fix Filter Failed Error
- How to Fix Amazon Prime Video Error 7235 on Chromebook

- Helpful 3 years ago Reply Actually switching from OpenGL to D3D9 fixes the full screen stutter on videos for me. AMD GPU.
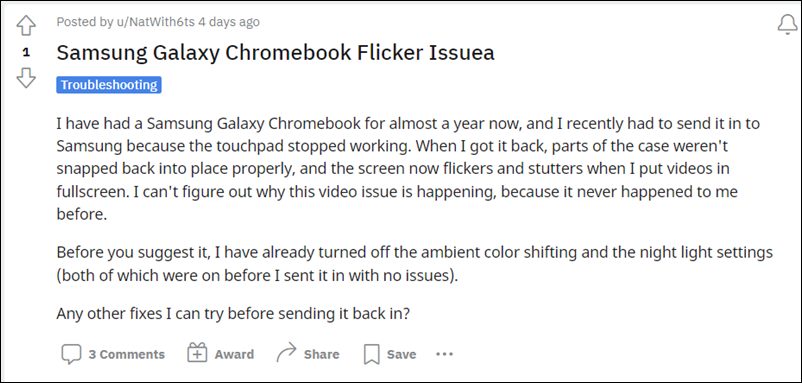
- Ralph 4 years ago Reply We have 2 of Asus Chromebook Flip C434TA as well. The video flickers – black screen comes on and off instantly. The video is watchable but it bothers us to see the black screen every few seconds. It happens on Netflix app/browser It happens on Disney app/browser It happens on videos playing during game ADs. Extremely annoying. I have searched and searched for solution for the past year. Basically chromebook isn’t for video watching.
- H-J 4 years ago Reply Hi, I’m using a Asus Chromebook Flip C434TA-AI0303. My screen is still flickering with fullscreen video’s, but only the part of the screen where it’s the most bright (source of a bright object like a Lamp, or sun. And it’s flickering compared to a TL-Lamp at is end of it’s life span… When I touch a key and any overlay comes into the screen, like a volume bar e.g. the flickering stops for that moment.. but when it’s fades away it starts flickering again. I did turn hardware acceleration off but I can’t find a setting for using the OpenGL graphics backend… I hope google will fix this soon or if anyone knowes how to fix I’ll really like to hear.
(Cancel Reply)
Δ
HP Printer not working in Chromebook Chrome OS: Fix Filter Failed Error
In this guide, we will show you two different methods to fix the HP Printer not working Filter Fail Error in Chromebook Chrome OS v97. These laptops from the Search Engine giants were initially used mostly in schools, enterprises, and organizations. However, recently it has seen its popularity on the rise among everyday users as well, so much so that some have even made the jump from Windows to Chrome OS.
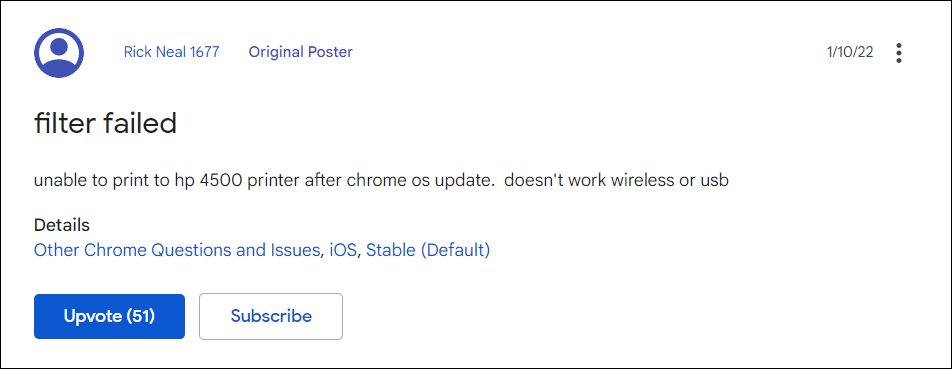
But we might not see that happening on the large scale any time soon, more so after its recent buggy phase. While issues with its Network and Phone Hub app is still yet to be addressed, a new bug has already made its way. All the users who have updated their Chromebook to Chrome OS v97 are reporting that their HP Printer is no longer working.
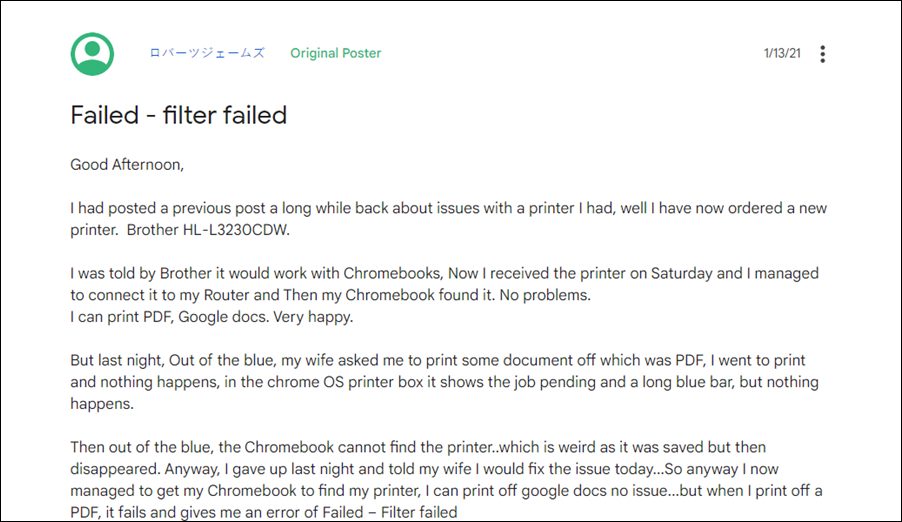
Whenever they are trying to print a file, they are instead being greeted with the Failed- Filter Fail error message. For some, even the printer is not appearing on their laptop. So if you are also getting bugged with this issue, then this tutorial shall help you out. In this guide, we will show you various methods to fix the HP Printer not working Filter Fail Error in Chromebook Chrome OS v97. Follow along.
- HP Printer not working in Chromebook Chrome OS: Fix Filter Failed Error FIX 1: Via HP Print Service Plugin FIX 2: Downgrade Chrome OS to v96 Downgrade Via Powerwash Downgrade via Crosh
HP Printer not working in Chromebook Chrome OS: Fix Filter Failed Error
There exist two different methods of rectifying this issue- using the Service Plugin app and via downgrading the OS. We have listed both these methods below. Go through them and then decide which one you should try out.
FIX 1: Via HP Print Service Plugin
- To begin with, install the HP Print Service plugin from the Play Store.
- Then bring up the print menu but instead of using the Print option, choose Save as PDF.
- Now save this file somewhere on your PC.
- Then open the Files app, navigate to that saved file, and select Share.
- Select HP Print Service from the share menu.
- Now select your printer and choose the desired print options (1 or 2 sided, color or black & white, etc).
- Finally, hit the Print icon situated at the top right and the page would be now printed without any issues.
- Check if it fixes the HP Printer not working Filter Fail Error in Chromebook Chrome OS v97.
FIX 2: Downgrade Chrome OS to v96
This issue is currently bugging Chrome OS stable version 97.0.4692.91 and Beta version 98.0.4758.51. In this regard, downgrading it to the earlier OS build version 96.0.4664.111 has rectified this issue for many users. But do keep in mind that this process will wipe off all the data on your device, so take a backup of all the data on your PC and then refer to our guide on How to Downgrade Chromebook Chrome OS to an Older Version [2 Methods] . The shorter instruction is given below:
Downgrade Via Powerwash
- Head over to the log-in screen and press the Ctrl+Shift+Alt+R shortcut keys.
- This will bring the Reset page. Again press the Ctrl+Shift+Alt+R shortcut.
- Now click on the Powerwash and Revert button situated at the bottom right.
- Your Chromebook will now be wiped and subsequently downgraded to the earlier version.
Downgrade via Crosh
- Then use the Ctrl+Alt+T shortcut keys to open the Crosh terminal.
- Now type in the below command and hit Enter: rollback
- Your Chromebook will now undergo a reset and will be downgraded to the earlier stable build.
- Network not available when setting up Chromebook: How to Fix
- Phone Hub Not Working: Cannot Connect Android to Chromebook [Fixed]
- Printer not working in Windows 11: How to Fix
- How to Fix Amazon Prime Video Error 7235 on Chromebook
(Cancel Reply)
Δ
