Download Latest Android SDK Platform Tools [Windows/Mac/Linux]
In this guide, we will show you the steps to download and install the Android SDK Platform Tools on your PC. Among the plethora of tools and custom binaries doing the rounds in the open-source ecosystem, there’s no denying the fact that the ADB and Fastboot Tools are probably the most important ones. Moreover, it is among the very few tools that are used by both tech enthusiasts and normal users alike.
If we talk about the latter set of users, they could use it to boot their device to Stock Recovery and then format their device or flash the firmware via ADB Sideload. Likewise, they could also use it to execute ADB Shell commands and remove bloatware or preinstalled apps from their device. Then if we shift our attention towards the tech geeks, well, the platform-tools is the gateway to entering the custom development market.
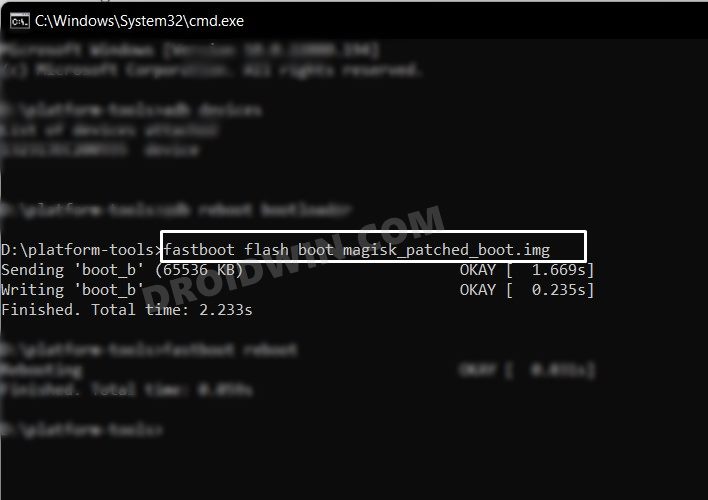
Right from booting their device to Fastboot Mode, to flashing Magisk patched boot.img for root, flashing firmware to unbrick their device, or flashing custom ROMs and recoveries, probably none of these tweaks would be possible if it wasn’t for this tool. Well, enough of the praise, let’s now get straight to the task and make you aware of the steps to download and install the Android SDK Platform Tools on your PC.
- How to Install Android SDK Platform Tools on Windows STEP 1: Download Android SDK Platform Tools STEP 2: Add ADB to Path STEP 3: Verify ADB Connection on Windows STEP 4: Install Fastboot Drivers [OPTIONAL] STEP 5: Verify Fastboot Connection [OPTIONAL]
- How to Install ADB on Mac? Install ADB on Mac via Direct Link Install ADB on Mac via Homebrew Add ADB to Path Verify ADB Connection on Mac
- Can I use any other ADB Tool?
- Can I use Powershell instead of CMD to Execute Commands?
- How to Open CMD as Admin inside Platform Tools
- List of all ADB and Fastboot Commands
- How to Fix ADB and Fastboot Errors
How to Install Android SDK Platform Tools on Windows
The below instructions are listed for Windows PC. If you are on Mac, refer to the next section.

STEP 1: Download Android SDK Platform Tools
- To begin with, download the Android SDK Platform Tools on your PC from below: Windows | Linux | macOS [Note: Links are automatically updated from Google’s servers]
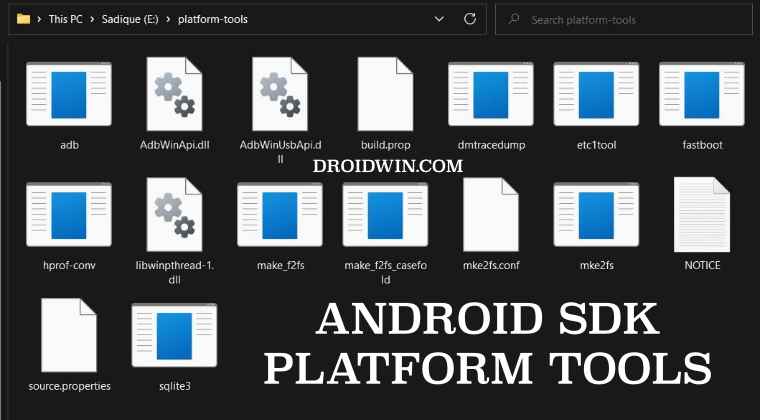
- Once downloaded, extract it to any convenient location on your PC.
- Doing so will give you the platform-tools folder, which will be used throughout this guide.
STEP 2: Add ADB to Path
So you have downloaded and extracted the Android SDK Platform Tools to a convenient location of your choice. Your next step should be to inform your system about this location as well. And this could be done by adding the ADB path to the system’s Environmental Variables. To do so, you may either refer to our detailed guide on How to Add ADB to Path in Windows 11 or check out the below shorter instructions-
- To begin with, note down the location where you have extracted the Android SDK Platform Tools.
- Then head over to the Start menu, search View Advanced System Settings, and open it.
- You shall now be taken to the Advanced tab of System Properties.
- Click on the Environmental Variables button situated at the bottom right.
- Now select the Path field under System Variable and click on the Edit button.
- After that, click on the New button and paste the platform-tools folder location (that you had earlier copied) in the space provided.
- Then click OK to save this path. Again click OK to close Environmental Variable and finally click OK to close System Properties.
- That’s it. Now restart your PC (optional but recommended) and your tasks stand complete.
STEP 3: Verify ADB Connection on Windows
- To begin with, enable USB Debugging on your device to make it recognizable by the PC in ADB mode.
- To do so head over to Settings > About Phone > Tap on Build Number 7 times [MIUI Number in Xiaomi Devices].
- Then go back to Settings > System > Developer Options > Enable USB Debugging.
- Likewise, it is also recommended that you change the USB Type to File Transfer from Charging Only [you may do so from the Notification Panel itself].
- Once done, now head over to the platform-tools folder, type in CMD in the address bar, and hit Enter.
- This will launch the CMD window with the platform-tools folder directory.
- Now execute the below command to verify the ADB Connection: adb devices
- You should now get your unique device ID, signifying that the ADB connection is successful.
- If you also get an unauthorized message, then check your device, there will be a prompt, tap on Allow.
- Then again execute the above command and this time you won’t get the unauthorized alert in the CMD.
STEP 4: Install Fastboot Drivers [OPTIONAL]

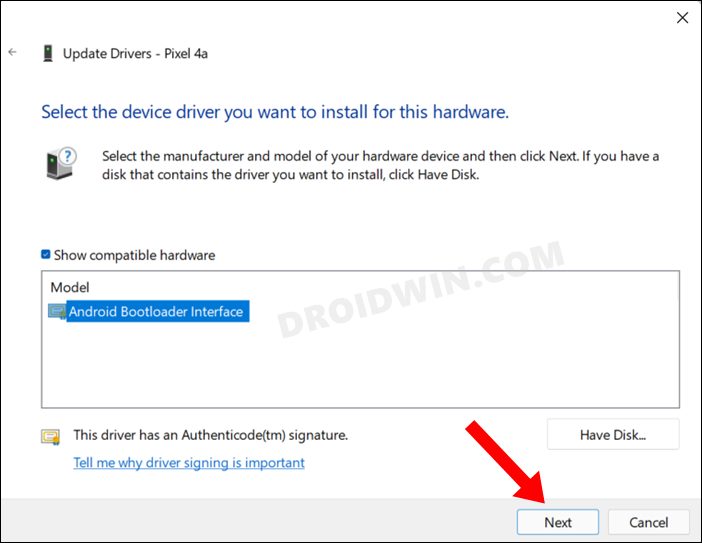
The ADB is just the tip of the iceberg, most of your work would usually be carried out in the Fastboot Environment. However, your PC wouldn’t be able to identify the connected device in Fastboot Mode unless it has the necessary Fastboot Drivers installed. So please refer to our guide on How to Install Fastboot Drivers in Windows 11 .
STEP 5: Verify Fastboot Connection [OPTIONAL]
- To begin with, make sure that you have carried out all the steps mentioned in the above ADB section.
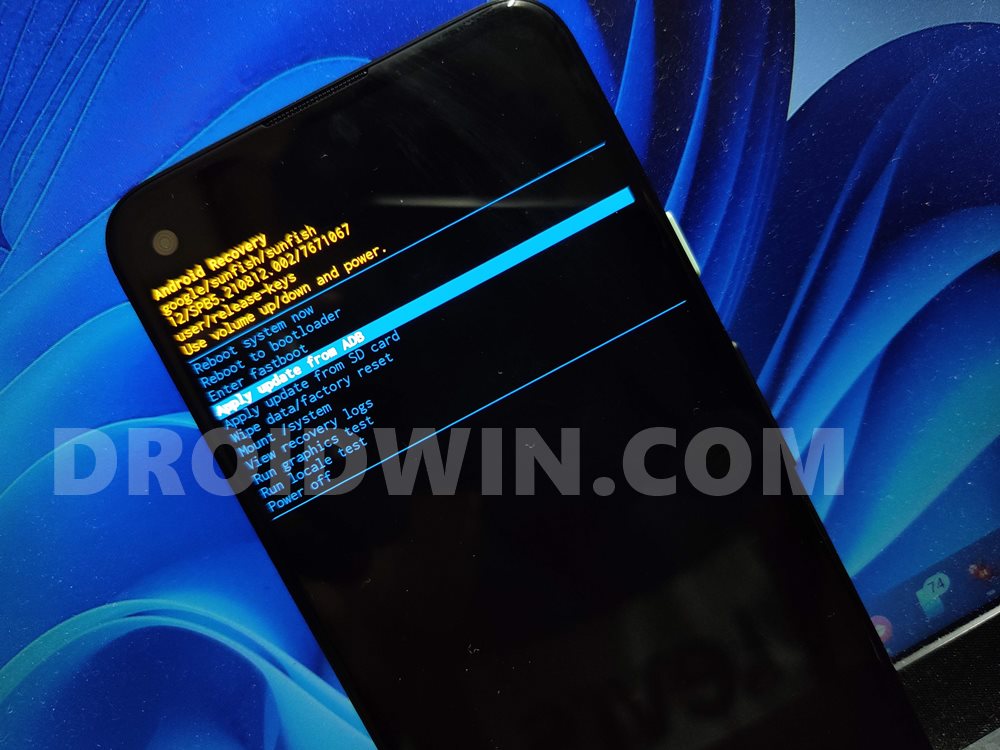
- Then execute the below command in the CMD window that is opened in the platform-tools folder: adb reboot bootloader
- Your device will now boot to the Fastboot Mode, signifying that the connection stands successful.
How to Install ADB on Mac?

There exist two different methods through which you can install the Android SDK Platform Tool or ADB on your Mac- via the direct official link or using Homebrew. It is a free and open-source software package management system that allows you to install applications on your Mac and Linux OS via CLI. Moreover, it is the shorter and easier of the two methods for setting up ADB on Mac as it has a big advantage over its counterpart in that you don’t have to manually add ADB to Path. Moreover, it will auto-update ADB on your Mac as soon as a new version is available.
However, some users prefer to maintain a safe distance from it just because it involves dealing with commands. In the case of the former [Direct Link], it doesn’t involve any Command Line Interface and is completely GUI-based, so this might come as a relief for some. On the flip side though, you’ll have to manually add ADB to Path [which is somewhat complicated] and update Android SDK Platform Tools manually as well. With that said, we have given both methods below, you may try out the one that is in sync with your requirements.
Install ADB on Mac via Direct Link
- Download the Android SDK Platform Tools from below: DOWNLOAD LINK
- Now extract it to any convenient location onto your PC.
- Then open the Terminal app from Launchpad > Others.
- Now type the below location, replacing path accordingly cd /path
- I have extracted it to Desktop, so the command will be: cd /Users/sadique/Desktop/platform-tools/
- ADB is now set up. Let’s proceed ahead and verify the same.
Install ADB on Mac via Homebrew
- First off, launch Terminal from Launchpad > Others.
- Then copy-paste the below command in the Terminal: /bin/bash -c “$(curl -fsSL https://raw.githubusercontent.com/Homebrew/install/HEAD/install.sh)"
- It will install Homebrew on your Mac in a few seconds.
- Once done, you’ll now have to add Homebrew to Path.
- For that, copy-paste the below commands in Terminal: (echo; echo ’eval “$(/opt/homebrew/bin/brew shellenv)”’) » /Users/ sadique /.zprofile eval “$(/opt/homebrew/bin/brew shellenv)”
- NOTE: Depending on your username, the above command will be slightly different.
- Now copy-paste the below command to install the ADB brew install –cask android-platform-tools
- That’s it. ADB is now successfully installed on your Mac.
Now that we are done setting up the ADB environment, let’s put it to the test and verify the results, in other words, let’s verify the ADB Connection on your Mac. Follow along.
Add ADB to Path
This is only required if you have set up Android SDK Platform Tools using the Direct Link method. If you have done so via the Homebrew method, then you may skip this section. NOTE: If you’re running macOS older than Catalina, the default shell will be Bash. For macOS Catalina and newer versions, the default has been changed to the Z shell (Zsh). Still, we will first perform a check and then proceed ahead to add ADB to Path on your Mac.
- First off, open the Terminal window from Launchpad > Other.
- Then type in the below command to go to the Home directory: cd ~
- After that, type in the below command to find the current shell echo $0
- If you get a Bash output then type in the below command: touch .bash_profile
- On the other hand, for Zsh, you should use the below command touch .zshrc
- Now Open the shell configuration file with TextEdit. For Bash: open -e .bash_profile
- On the other hand, for Zsh, use the following command open -e .zshrc
- Then type in the below command, replacing the path accordingly: export PATH=$PATH:/path_to_SDK_Platform_Tools
- In my case, the path is Desktop, so the command will transform to export PATH=$PATH:/Users/sadique/Desktop/platform-tools/
- Now save the changes via Command+S and close the TextEdit file.
- Next, go back to Terminal and reload the shell settings. For Bash: source .bash_profile
- On the other hand. For Zsh, you should use the below command: source .zshrc
- After that, type the below command to verify the PATH variable: echo $PATH
- Finally, launch a new Terminal window and type in the command: adb
Verify ADB Connection on Mac
- To begin with, head over to the Settings > System > About Phone.
- Now tap on Build Number 7 Times [OS/MIUI Version on Xiaomi].
- This will enable Developer Options and you’ll be notified of the same.
- So go to Settings > System > Developer Options.
- Then enable the toggle next to USB Debugging.
- Now connect your device to your Mac via USB.
- Then change USB Type to File Transfer from the notification panel.
- Now open Terminal and type in the below command [replace path] cd /path_to_SDK_Platform_Tools NOTE: This cd is only required if you haven’t added ADB to Path.
- For example, I have extracted ADB to Desktop, so the command is: cd /Users/sadique/Desktop/platform-tools/
- Finally, type in the below command to verify the ADB connection: ./adb devices
- You should now get your unique device ID, signifying that the ADB connection is successful.
- If you also get an unauthorized message, then check your device, there will be a prompt, tap on Allow.
- Then again execute the above command and this time the connection is successfully established.
Can I use any other ADB Tool?
It is not advised to use any other third-party ADB and/or Fastboot Tools. This is because most of these tools are outdated and haven’t received updates in years. Moreover, they aren’t in sync with newer Android changes either [such as the FastbootD Mode, dynamic partitions, etc].
Can I use Powershell instead of CMD to Execute Commands?
While you could use Powershell instead of Command Prompt, but I wouldn’t advise you to do so. This is because Powershell requires you to append a couple of additional characters or keywords before each command which makes it quite difficult and confusing. So stick with CMD and you won’t face any issues as such.
How to Open CMD as Admin inside Platform Tools
If you want to open the Command Prompt as an administrator inside the platform-tools folder, then there are two different approaches that you could take-
- Open CMD as an administrator from the Start Menu and then use the cd command to change the directory to the platform-tool folder. Benefit- it is easier to carry out. Drawback- You will have to do this everytime.
- Add the Open CMD as administrator option in the right-click menu. [Personally, I would recommend this approach]. Benefit- it just requires a one-time setup required. Drawback- Slightly technical to set up.
List of all ADB and Fastboot Commands
From this guide, you will be able to get hold of all the important and most frequently used ADB and Fastboot Commands as well as their usage instructions. So do check out our guide on A List of Useful ADB and Fastboot Commands and their Usage .
How to Fix ADB and Fastboot Errors
it is no hidden secret that the ADB and Fastboot domain is prone to quite a few issues. From the inability of the device to be recognized in Fastboot Mode to the inability of the CMD to flash a file, you might com across quite a few bugs and issues. Fortunately, we have it all covered, do check out our guide on How to Fix All Possible ADB and Fastboot Errors .
- Fastboot Commands not working: How to Fix
- How to Execute Android ADB Fastboot Commands Wirelessly
- How to Use ADB and Fastboot Commands on Android Without PC
- ADB VENDOR KEYS Not Set: How to Fix

- Darmis vanegas 1 month ago Reply Hi, could you send me the file, please? 🙂
- john 6 months ago Reply HI, please explain for linux Ubuntu computer
- Neo 1 year ago Reply Can you please put the step by step install to do it from a Linux Ubuntu computer to put iode on Pixel 7a. NB; I’m a total newbie in all this. Thank you
- Karolina 2 years ago Reply Hello! I have a OnePlus8 that I bought through an ad online, not from a store. It came with the box, charger and receipt so it looked legit. I’ve had some problems with it lately and thought I’d do a factory reset. So I did, and I got this error, “current image(boot/recovery) have been destroyed…”. From what I understand of your instructions I would need to have access to my phone and do some steps with both the phone and the computer before I can fix the error. Since my phone is totally dead and I have no prior connection between phone and computer with the ADB and Platform tool, is it possible to fix the error at all? When I connect the phone to the computer with a cable nothing happens, I can’t access anything. Best regards, Karolina
- Fernando 3 years ago Reply Hello Sadique, Thanks for your post. It is very well explained in detail. My xiaomi mi A1 has the Operative System corrupted, so I am trying to install an old version of the software in order to not to lose all the data from my device (factory reset). However, I can´t activate the debug option (can´t access to aplications) so I can´t follow your steps to install ADB and fastboot. Is there any way to complete the installation or any way to recover my data? Thanks in advance, kind regards
- joaquin 3 years ago Reply buenas tardes, tengo un prblema con mi xiaomi poco x3 pro, al intentar prenderlo o reiniciarlo se quede pegado con la imagen de fastboot por mas que lo reinicio sale el logo de poco y vuelve a fastboot, nisiquiera me deja ingresar al menu recovery, que puedo hacer? llevo horas intentando pero nada con exito posdata: el pc en ocaciones reconoce el dispositivo pero no le implementa nada ni hace nada solo da error Sadique Hassan 3 years ago Reply Hi Joaquin, is the bootloader unlocked on your device? if yes, then you could flash the firmware either via Mi Flash Tool or manually download the firmware, extract it, and double-click on the flash-all.bat file to flash it. Hola Joaquin, ¿el bootloader está desbloqueado en tu dispositivo? En caso afirmativo, puede actualizar el firmware a través de Mi Flash Tool o descargarlo manualmente, extraerlo y hacer doble clic en el archivo flash-all.bat para actualizarlo. posdata: la pc a veces reconoce el dispositivo pero no implementa nada ni hace nada, solo da error
- kenneth 3 years ago Reply Is there a link to download the tool brother? Sadique Hassan 3 years ago Reply Hi Kenneth, the download link is given in Step 1 of this guide itself.
(Cancel Reply)
Δ
