Fix ColorSync Utility “The operation couldn’t be completed Not a directory”
In this guide, we will show you various methods to fix the “The operation couldn’t be completed Not a directory” error in ColorSync Utility. This app comes preinstalled into the OS as allows you to implement consistent colors across all your devices i.e. make sure the colors in your images appear the same on all your displays. Along the same lines, it makes it quite easy to find the default color values. However, as of late, it seems to be facing a rather intriguing issue.
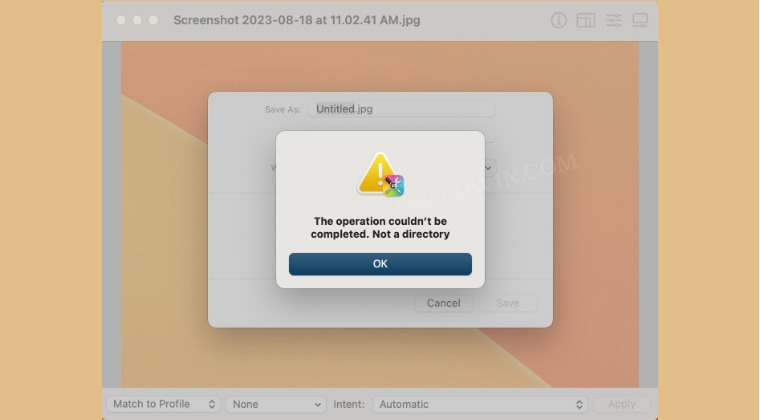
If you have a JPG image, then open it in ColorSync Utility and try to save it on your Desktop [in the same JPG format], the app wouldn’t be able to do so and instead greet you with the “The operation couldn’t be completed Not a directory” error. If you are also facing the same issue, then this guide will make you aware of numerous nifty workarounds to rectify this issue. Follow along.
- Fix ColorSync Utility “The operation couldn’t be completed Not a directory” FIX 1: Save Location Tweak FIX 2: Using Quick Actions FIX 3: Export via Preview FIX 4: Using Terminal
Fix ColorSync Utility “The operation couldn’t be completed Not a directory”
While all the below-listed workarounds will rectify this issue, but still, go through them once and then try out the one which is in sync with your requirement.
FIX 1: Save Location Tweak
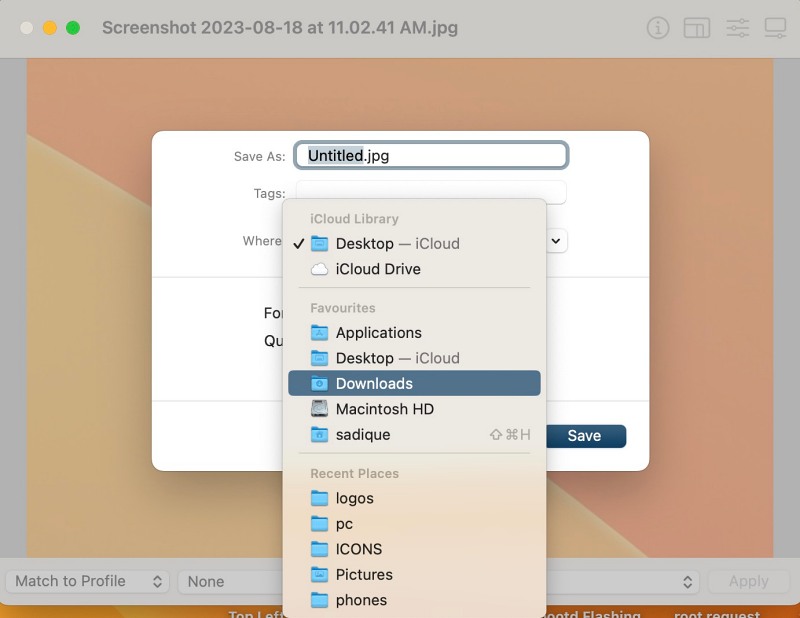
While all the below-listed tweaks are much faster than this one, but none of them requires your interaction with the ColorSync Utility app. So if for some reason, you still wish to remain confined within this app and rectify the underlying issue, then simply change the Save As location from Desktop to any other location and then switch back to Desktop. You’ll now be able to save the JPG image onto the Desktop without any issues.
FIX 2: Using Quick Actions
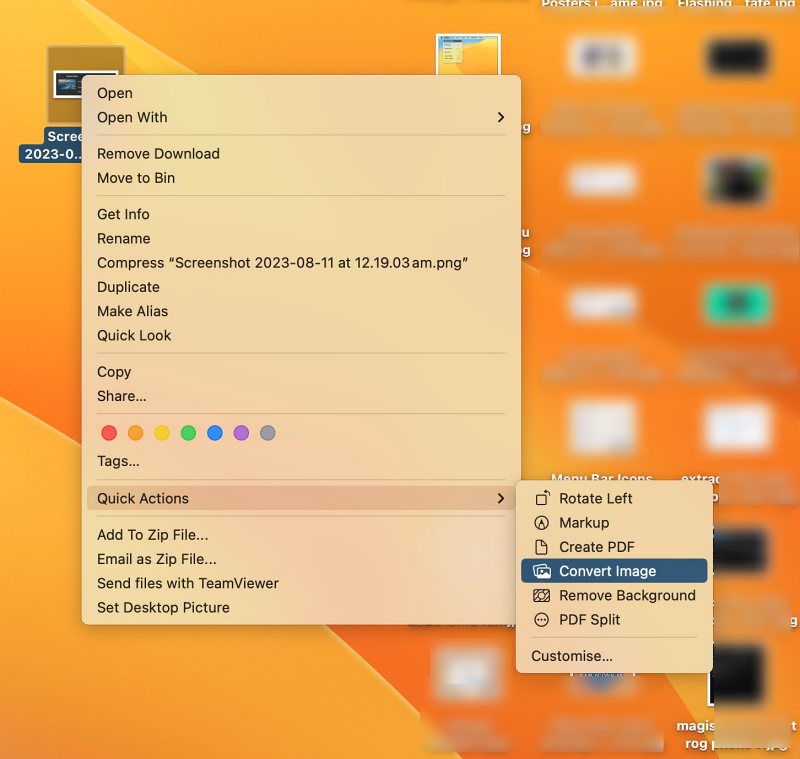
Probably the easiest way of getting this job done is to right-click on the image and select Quick Actions. Then choose the desired format and hit the Convert button. This should effectively address the “The operation couldn’t be completed Not a directory” error in ColorSync Utility.
FIX 3: Export via Preview
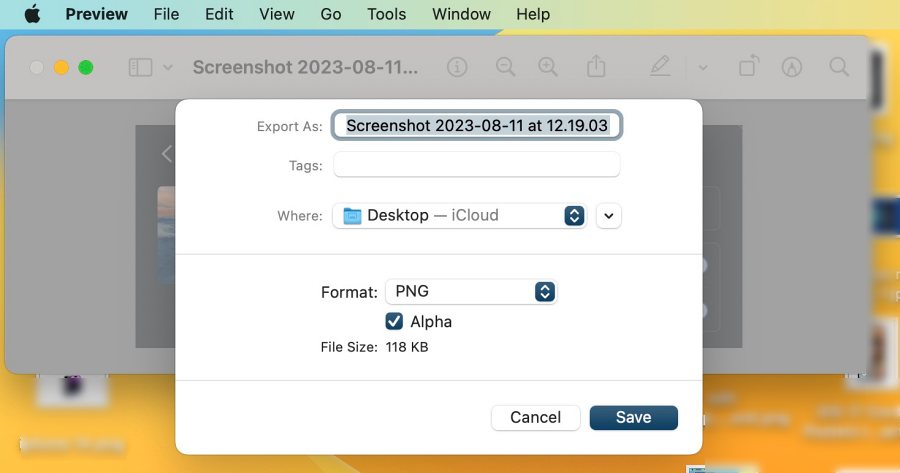
Since Preview is anyways the default app to view images on your Mac, why not get this job done via this app itself? So simply open the image [which will launch in Preview] and then go to File > Export. Then select the format and destination and hit Save. That’s it.
FIX 4: Using Terminal
If you wish to take a technical approach, then you could also convert and save the file in JPG format via Terminal. However, do note that this tweak only applies to screenshots and will make all the screenshot’s default format to JPG.
- So launch Terminal and execute the below command defaults write com.apple.screencapture type jpg
- Then type in the below command to restart your Mac: killall SystemUIServer
- Top Left App Menu Bar not working in Mac [Fixed]
- Menu Bar Icons missing in macOS Sonoma: How to Fix
- How to Uninstall NightOwl from your Mac [and why should you]
- Fix macOS 13.5 Ventura iCloud Drive Sync issue

(Cancel Reply)
Δ
