
While the below-mentioned workaround isn’t the most viable or feasible approach, but it is the shortest path to get this job done. What you need to do is assign a heading style to one of each level heading you have. So if you have four levels of headings, then you will have to assign a style to headings to thse four levels, only once. The below instructions shall make it clear-
- To begin with, put your cursor in the first-level heading.
- Then go to Go to Format > Paragraph styles > Heading 1 .
- After that, select Update ‘Heading 1’ to match .
- Now do this one time for the remaining heading levels you have.
- Then put your cursor in the next first-level heading.
- Go to Format > Paragraph styles and click on Heading 1 .
- Now go to the next level 1 heading, put your cursor in it anywhere, and press Ctrl + Y. Do this for all your level 1 headings.
- Finally, repeat this process for each level heading that you wish to view in the Outline section.
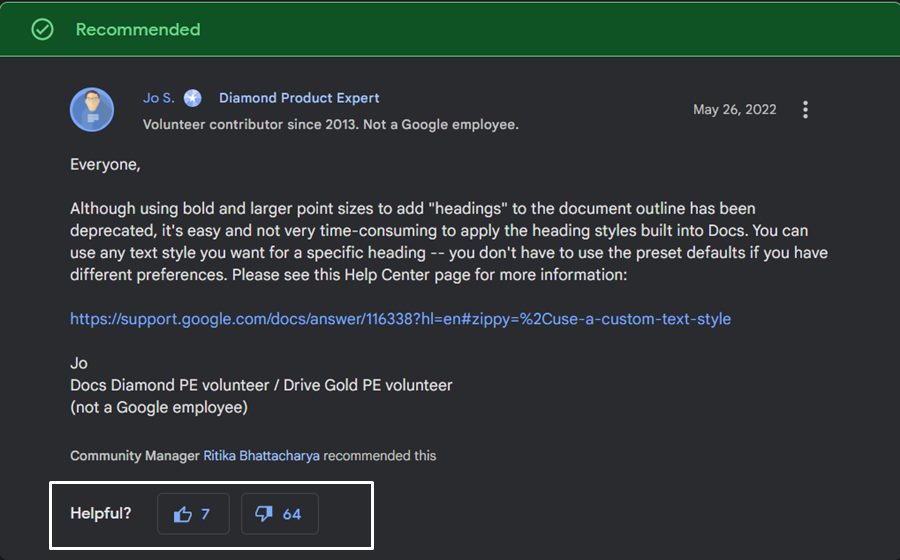
Conclusion: Another Google Change that no one asked for
There goes a popular saying that ‘if it ain’t broke don’t fix it’. Unfortunately, the Silicon Valley giants never seem to abide by this rule, and we, the end-users end up being the ultimate sufferer. Another important point that we would like to draw your attention to is the fact that this isn’t a bug but rather an intended change from Google , so there’s no going back now to the old format. You have no choice but to stick with this change, whether you like it or not.
- Fix Google Docs “Your Access Has Expired” Error [6 Methods]
- Fix Google Docs Default Templates Missing
- How to Fix Text Wrapping or Indentation Error in Google Docs
- Fix Google Docs Strikethrough issue with Checklist

(Cancel Reply)
Δ
