Headphone Jack not working in Mac: How to Fix
In this guide, we will show you various methods to fix the issue of the headphone jack not working on your Mac. In most cases, this issue usually stems out from a software-side bug rather than a hardware failure, and that in itself is enough to give a certain degree of respite to the end users. However, the misery won’t end until and unless this issue is completely rectified. So in this guide, we will make you aware of numerous workarounds that should help you rectify this bug.
- Fix Headphone Jack not working on Mac FIX 1: Replugin Headphone to Mac FIX 2: Restart Mac FIX 3: Toggle Audio Output FIX 4: Toggle Mute FIX 5: Restart Coreaudio FIX 6: Create a New User Profile FIX 7: Reset NVRAM
Fix Headphone Jack not working on Mac
It is recommended that you try out each of the below-mentioned workarounds and then see which one spells out success. So with that in mind, let’s get started.
FIX 1: Replugin Headphone to Mac
- To begin with, unplug your headphones.
- Then put your Macbook to sleep by closing its lid.
- Now plug in your headphones again.
- Then wake up your MacBook by opening its lid.
- Check if the headphone jack is working on your Mac.
FIX 2: Restart Mac
- Click on the Apple logo at the top left.
- Then select Restart from the drop-down menu.
- Now plug in your headphone to your Mac and check if the jack is working or not.
FIX 3: Toggle Audio Output
- To begin with, unplug your headphones.
- Then go to System Settings > Sound > Output & Input.
- Now plug your headphones back in.
- You should see the Headphone Port next to the External Headphone.
- Once that happens, check if the headphone jack is working on your Mac.
FIX 4: Toggle Mute
- To begin with, unplug your headphones.
- Then go to System Settings > Sound > Output & Input.
- Now check Mute next to Output Volume.
- Wait for a few seconds, uncheck it, and verify the result.
FIX 5: Restart Coreaudio
- Head over to Launchpad > Others > Terminal.
- Then type in the below command to restart Coreaudio sudo pkill coreaudiod
- Now check if the headphone jack is working on your Mac.
FIX 6: Create a New User Profile
- Head over to System Settings > Users & Groups > Add Account.
- Now select the new account type, give it a name and password, and hit Create User.
- Then log in via this account and check if the headphone jack is working.
FIX 7: Reset NVRAM
Both M1/M2 and Intel-based Macs come with NVRAM [Non-Volatile Random Access Memory) which holds information about the configuration of your Mac. They store information related to your desktop settings, mouse, keyboard, time zone, and display resolution, among others. So if this stored data gets corrupted, then its associated hardware or software component might not be able to perform as expected. Therefore, you will have to reset the NVRAM, using the steps given below:
- If you have an M1 or M2 Mac, then just a normal restart will reset the NVRAM.
- For an Intel-based Mac, you should first turn off your PC.
- Then before the gray screen appears, press the CMD, Option, P, and R keys together.
- Keep on pressing these keys until your Mac restarts and you hear the startup sound.
- Once that happens, you may release the keys and check out the results.
- Error -50 when trying to delete a file on Mac [Fixed]
- Fix Mac Diskmanagement.disenter error 119930868, 49218, 0, etc
- File can’t be found error on Mac Ventura: How to Fix
- Mac Ventura SMB: Items can’t be copied to folder error [Fix]
- Printer Error: Stopped Filter failed on Mac [Fixed]

(Cancel Reply)
Δ
Printer Error: Stopped – ‘Filter’ failed on Mac [Fixed]
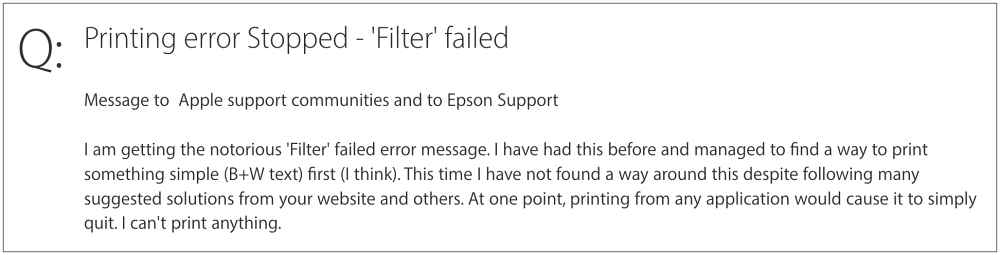
In this guide, we will show you various methods to fix the Printer Error: Stopped – ‘Filter’ failed on your Mac. Numerous users have voiced their concern that they are getting bugged with the aforementioned error whenever they try to point any document- either via wireless [WiFi] or wired [USB] printer.
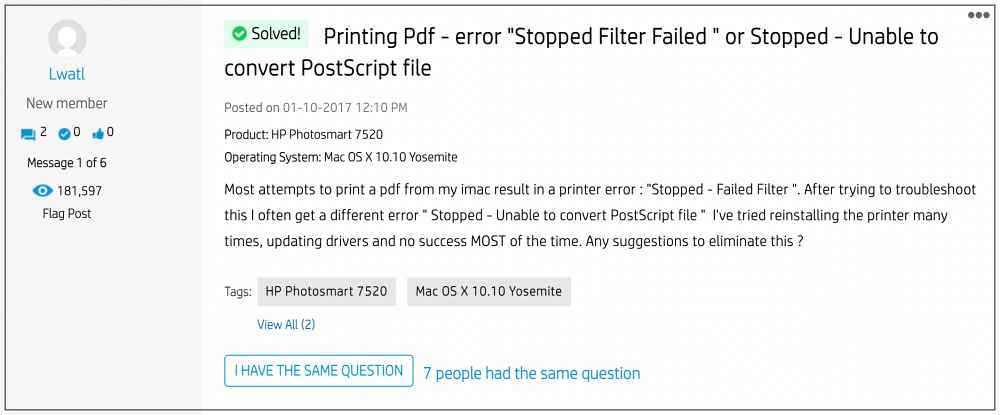
Furthermore, some users have also said that the Preview is not able to print PDFs to their printer [even though third-party software Acrobat Reader is working well and good ]. Likewise, some users have also reported that they are unable to print via Microsoft Remote Desktop and getting the same error as above. So if you are also getting the Printer Error: Stopped – ‘Filter’ failed on your Mac in any of these scenarios, then this guide shall help you rectify it. Follow along.
- Fix Printer Error: Stopped – ‘Filter’ failed on Mac FIX 1: Update the Printer Drivers FIX 2: Re-Install the Printer FIX 3: Reset Printing System
Fix Printer Error: Stopped – ‘Filter’ failed on Mac
It is recommended that you try out each of the below-mentioned workarounds and then see which one spells out success for you. So with that in mind, let’s get started.
FIX 1: Update the Printer Drivers
- To begin with, go to System Preferences > Printers and Scanners.
- Select your printer from the list and hit the minus sign next to it to remove it.
- Then click on Delete Printer in the confirmation dialog box.
- Once done click on the plus icon and select Add Printer or Scanner.
- After that, select the printer type: USB, Wireless, or Ethernet connection.
- Then select your printer under the “Use or Print Using” drop-down list and click on Add.
- Now click on the Apple logo and select Software Update or App Store.
- Then go to the Updates tab and download and install the pending updates.
- Check if it fixes the Printer Error: Stopped – ‘Filter’ failed on your Mac.
FIX 2: Re-Install the Printer
- Power off your printers and go to System Preferences > Printers and Scanners.
- Select your printer from the list and hit the minus sign next to it to remove it.
- Then click on Delete Printer in the confirmation dialog box.
- Now open Finder and go to Library > Printers. Then delete the folder named after your printer.
- After that, go to Library > Printers> PPD > Contents > Resources and delete the file named after your printer.
- Then go to Library > Cache and delete the folder named after your printer.
- Now restart your Mac and power on the printer.
- Go to your printer’s Download site and grab the latest drivers, corresponding to your product’s model number.
- Then launch the driver setup file and proceed with the on-screen instructions to complete the process.
- Now check if it fixes the Printer Error: Stopped – ‘Filter’ failed on your Mac.
FIX 3: Reset Printing System
- To begin with, go to System Preferences > Printers and Scanners.
- Then right-click the blank space in the Printers list and select “Reset printing system”.
- After that, click on Reset in the confirmation dialog box.
- Wait for the process to complete [until there are no printers on the list].
- Once done, restart your Mac and go to System Preferences > Printers and scanners.
- Then click on the plus icon, select your printer from the list and click Add.
- Now click “Print Using…” and then select your printer from the list. That’s it.
- A required firmware update cannot be installed on Mac [Fixed]
- Printer not working in Windows 11: How to Fix
- Print to PDF Option Missing in Windows 11: How to Fix
- HP Printer not working in Chromebook Chrome OS: Fix Filter Failed Error
- Randy 3 years ago Reply Nope, did not work
(Cancel Reply)
Δ
