How to Add Advanced Reboot option on any Android [Stock ROM!]
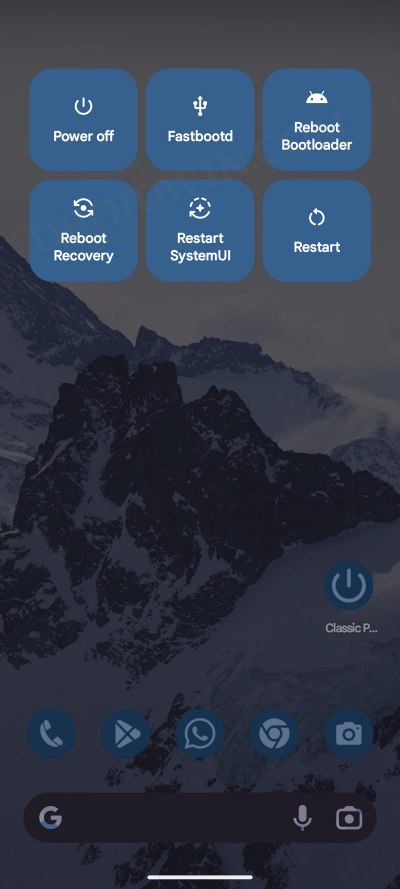
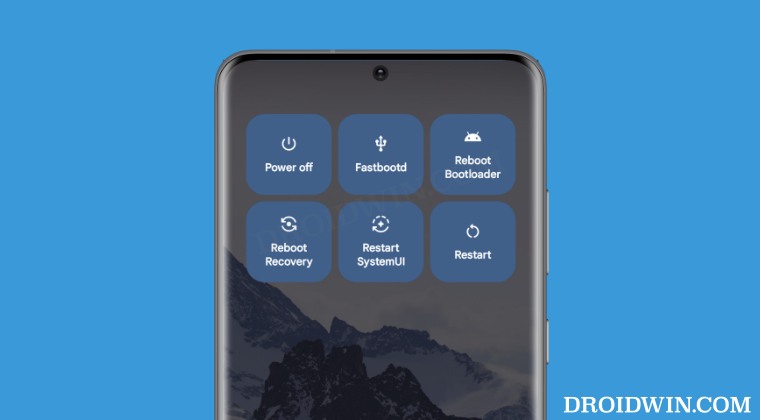
There are a plethora of things that Android does right, but then there are a couple of things that it simply refuses to acknowledge or rectify . One among them is the Advanced Reboot option on Android. As is evident from its name, the Advanced Reboot functionality allows you to add advanced power menu options, including the ability to Reboot to Bootloader/Fastboot, FastbootD, Recovery, Download Mode, and Restart System UI.
Truth be told, more than 90% of the users would probably never interact with any of these options, so from Google’s point of view, not adding these features makes sense up to an extent. However, rather than directly opting for extreme measures, the Silicon Valley giant could take a middle ground that would keep making the generic users and tech enthusiasts glad, something similar to what OnePlus has done.
By default, OnePlus also has just the generic power menu that is present across all Android devices, however, it has also hidden an Advanced Reboot functionality in the Developer Options. A general user would probably never stumble upon this Developer Options, so the chances of unintentionally enabling this functionality are near about nil.
As far as the tech geeks are concerned, well, this is the first menu they usually stroll through after unboxing their device! Anyways, enough of this long story, let’s get straight to the point and onto the optimistic side- there does exist a nifty method using which you could add the Advanced Reboot option on your Android device. And in this guide, we will show you how to do just that. Follow along.
- How to Add Advanced Reboot Option on any Android Non-Root Method Rooting Method NOTE 1: Accessibility Settings for Android 13/14 Devices NOTE 2: Enable Background Blur in Advanced Power Menu
How to Add Advanced Reboot Option on any Android
Non-Root Method
Advantage: Doesn't require a root. Hence, you will be saved from all the issues that a rooted device brings with it, including failing the Play Integrity test.

Drawback: This method uses your device's IP address. Since the IP changes after every reboot, you'll have to carry out this process every time your device reboots. Moreover, as opposed to the next method, this one involves executing an ADB Command every time you want to reboot to Fastboot or Recovery mode.
- First off, download and install the ADB Shell Debug Toolbox from the Play Store.
- Then head over to Settings > About Phone > Tap Build Number 7 times.
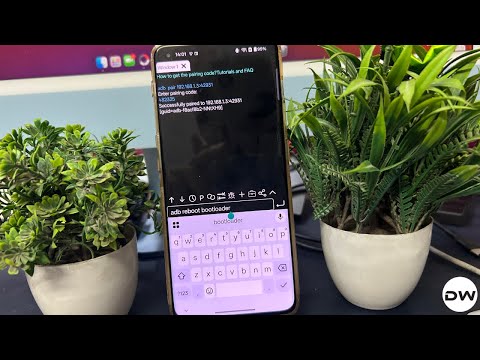
- Next, go to Settings > Developer Options > Enable Wireless Debugging.
- Now, do a multi-window, opening the app and wireless debugging together.
- If that doesn’t work, then open the app as a free-form window inside Wireless Debugging.
- Now tap on Pair device with pairing code and enter the IP and Port in the ADB Shell app.
- Then enable the toggle next to Pairing Code and hit Pair. It will open a new window.
- Type in the pairing code there and hit Enter. You should get the successful pair message.
- You can now enter the desired adb command for rebooting to recovery, bootloader, etc. adb reboot bootloader //Boot to Fastboot Mode adb reboot recovery //Boot to Recovery [stock/custom] adb reboot fastboot //Boot to FastbootD Mode adb reboot edl //Boot to Emergency Download Mode
Rooting Method

Advantage: It is much easier to carry out and it survives a reboot as well. Moreover, the feature gets embedded in the Power menu itself, so a single tap will get the job done, as opposed to the arlier method that invovles executing an ADB Command.

Drawback: It brings up all the quirks that a rooted device brings with it [such as the Play Integrity fiasco].
- First off, root your device using Magisk / KernelSU / APatch .
- Next up, download and install Xposed Framework LSPosed.
- After that download and install the Classic Power Menu from GitHub.
- Then launch LSPosed, go to Modules, and enable Classic Power Menu.
- Now, restart your device and then launch Classic Power Menu.
- Set it up as per your requirement via the on-screen instruction.
NOTE 1: Accessibility Settings for Android 13/14 Devices
From Android 13 onwards, the OS would prevent the app from bringing up the Accessibility permissions. So you’ll have to do that manually. Here’s how:
- Head over to Settings > Apps > All Apps > Classic Power Menu.
- Then tap on the overflow icon and select Allow Restricted Settings.
- Now go to Settings > Accessibility > Enable Classic Power Menu.
- Then go back to Classic Power Menu and complete the rest of the setup.
NOTE 2: Enable Background Blur in Advanced Power Menu
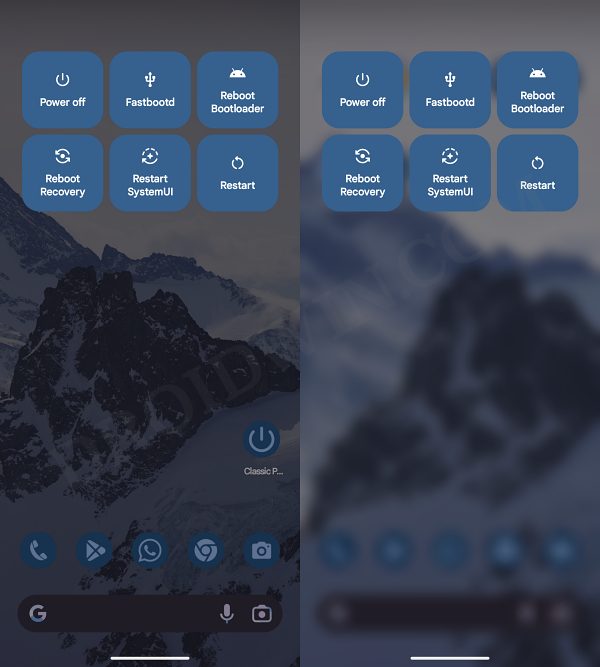
Left: No Blur | Right: Blur
On some Android devices, the background blur might not be activated by default. So you’ll have to do that manually [if required]. Here’s how:
- Download and extract Android SDK Platform Tools on your PC.
- Then enable USB Debugging and connect your device to your PC via USB.
- Now launch CMD inside Platform Tools and type in the below command: su
- You’ll get a Magisk request on your device, tap on Grant.
- Then type in the below command to enable background blur: resetprop ro.surface_flinger.supports_background_blur 1
- Finally, execute the below command to restart System UI. pkill -TERM -f com. android.systemui
- Once the UI restarts, the Advanced Reboot options will be added to the Power menu.

(Cancel Reply)
Δ
