How to Add Memory, CPU and GPU Widgets in Windows 11
In this guide, we will show you the steps to add Memory GPU and CPU Widgets on your Windows 11 PC. The Redmond giant has upped its game when it comes to supporting the developing community. In this regard, its newly launched Dev Home app beholds a slew of useful features for tech enthusiasts. Some of the noteworthy ones include the ability to connect to GitHub, load the WinGet configuration, and use the Dev Drive feature to create a separate disk partition.
Along the same lines, you could also add the Memory GPU and CPU Widgets on your Windows 11 PC all thanks to the Dev app Microsoft. As a result of this, you could easily keep track of the current system resources being consumed with just a few clicks. So without any further ado, let’s show you how this could be carried out.
How to Add Memory, CPU, and GPU Widgets in Windows 11
- Launch Windows Powershell as an admin from the Start menu.
- Then type in the below command to install the Dev app on your PC. winget install –id Microsoft.DevHome -e
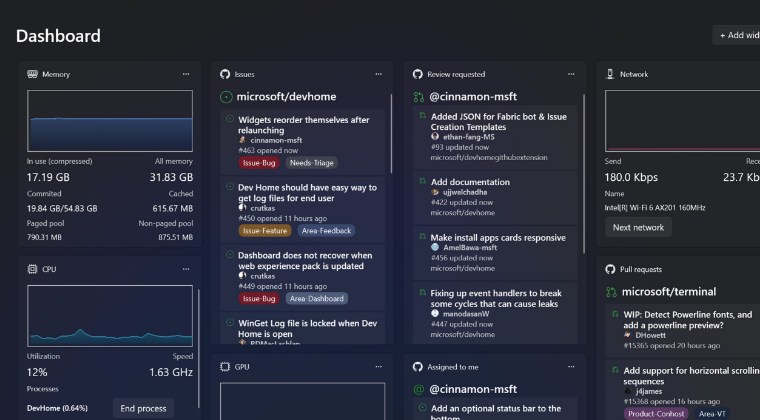
- Now bring up the Widgets via Windows+W and hit the plus icon.
- Then click plus next to Memory, CPU, and GPU to add those widgets.
- How to Enable New Taskbar Animation in Windows 11
- Guide to Enable Full-Screen Widgets in Windows 11
- How to Enable New Open with dialog box in Windows 11
- How to Enable Suggested Actions in Windows 11 Right Away

(Cancel Reply)
Δ
