How to Add More Steps to Android Volume Slider
In this guide, we will show you the steps to add more steps to Volume Slider on your Android device. One of the biggest perks of having an open-source operating system is the plethora of customizations that we have at our disposal. You could tweak near about every aspect of the OS, from changing the UI/UX to adding new functionalities that weren’t even present there in the stock ecosystem.
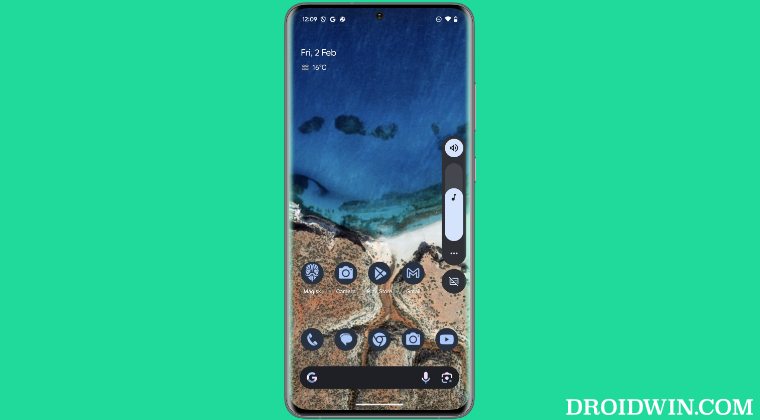
One such feature is the ability to add more steps to the volume slider on your Android device. By default, most sliders have up to 15 counts, but in our testing, we could easily stretch it up to 30 and the result turned out to be surprisingly good. So if you are also planning to carry out this task, then this guide is all that you would need. Follow along for the tweak.
- How to Add More Steps to Android Volume Slider Via Module By Editing Module By Changing Build.Prop
- How to Add More Steps to Android Call Volume Slider
How to Add More Steps to Android Volume Slider
Before starting, please take a backup of all the data on your device, just to be on the safer side. Droidwin and its members wouldn’t be held responsible in case of a thermonuclear war, your alarm doesn’t wake you up, or if anything happens to your device and data by performing the below steps.
Via Module
- Root your device using Magisk / KernelSU / APatch .
- Download the module for your device from below: OnePlus: OxygenOS 14 OxygenOS 15 OxygenOS 16 Nothing: OS 3.2 [Android 15] OS 4 [Android 16] All Android Devices Download [Might not work on newer OS]
- Now just flash this module and restart your device.
By Editing Module
- First off, get the module from above and extract it.
- Then open the audiopropos.sh file and refer to the line: resetprop -n ro.config.media_vol_steps 30
- Change the number 30 to any one of your choice and save it.
- Then zip the file and flash it via Magisk / KernelSU / APatch .
By Changing Build.Prop
- Root your device via Magisk / KernelSU / APatch .
- Then make the system partition r/w .
- Now install a root-supported Files app.
- Then open it and go to the Root directory.
- You’ll get a SuperUser prompt, tap Grant.
- Then access your build.prop file either from /system or /vendor partition.
- Now open it and add the below line to it: ro.config.media_vol_steps=30
- We are increasing the count by 30, you may input the desired number in place of it.
- Once done, save the changes and restart your device.
How to Add More Steps to Android Call Volume Slider
Since we are onto this subject, there’s another nifty tweak that I would like to share with you. Along the aforementioned lines, you could similarly increase the call volume slider steps on your Android device as well. For that, just add the below line to the build.prop file and save it. We have chosen the value of 14, you may change it as per your requirement. Moreover, this tweak could co-exist with the one we listed above [media volume slider] without any issues.
ro.config.vc_call_vol_steps=14
- Snapchat not working with KernelSu Root: How to Fix
- AI Core Features not working on Rooted Pixel [Fixed] [Video]
- How to Run National Bank of Egypt App [NBE] on Rooted Device
- How to Root Android without Fastboot Mode [Video]

(Cancel Reply)
Δ
