How to automatically install Preview Updates in Windows 11
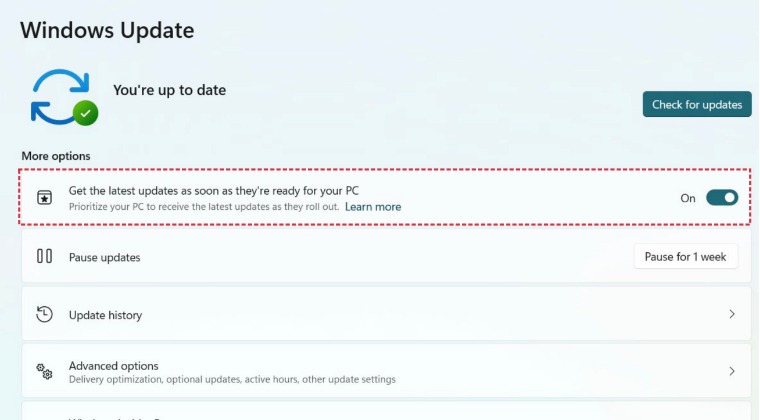
In this guide, we will show you the steps to make your Windows 11 automatically install Preview Updates. This update contains a preview of the non-security updates that will be included in the Cumulative Monthly Rollup Update. These are not installed automatically, instead, you’ll have to do so manually. However, the Redmond giant is testing out a new feature through which it will automatically install these updates on your behalf.
Some hints of this feature were visible in build 25309 as well and now it has further been cemented with build 25314. With that said, the update is slowly rolling out and might take some time before it reaches the general audience. However, you could skip this waiting queue and welcome abode this change right away. So without further ado, let’s check out how this could be carried out.
How to automatically install Preview Updates in Windows 11
- Download the open-source ViveTool from GitHub.
- Then extract it to any convenient location on your PC.
- After that, right-click on it and select Copy as path.
- Now launch Command Prompt as an administrator.
- Then type in cd and paste the copied path via Ctrl+V.
- Now execute any one of the following commands to enable the new Snap Layouts on your Windows 11 PC. vivetool /enable /id:43132439
- Once done, restart your PC. Then launch Registry Editor from the Start Menu and head over to the below location: HKEY_LOCAL_MACHINE\SOFTWARE\Microsoft\WindowsUpdate\UX\Settings
- Now right-click on Settings > and select New > Dword (32-bit) value. Name it IsContinuousInnovationOptedIn.
- Then double-click to open it, type in 1 in the Value data field and hit OK to save it. Finally, restart your PC once.
- Enable Task Manager in the Taskbar context menu in Windows 11
- Enable new Search Bar in Taskbar in Windows 11
- How to Enable End Task in Taskbar App Right Click on Windows 11
- Enable Drag and Drop for System Tray in Windows 11

(Cancel Reply)
Δ
