How to Change Fonts on Samsung One UI 8 [Without Root]
Samsung has recently started tightening the screws in the custom development, with the removal of the OEM Unlocking being the biggest thorn in the path. However, truth be told, that will only impact 5-6% of its user base at the maximum. But there are a few other restrictions it has started imposing that are giving quite a tough time to the majority of its users. One among them is the inability to install custom fonts [fonts outside of the Galaxy Store] on One UI 8. When I tried to do so, I was greeted with the following error message:
This font is not supported. Contact the font provider. Uninstall this font?
Initially, I thought there were some issues with the font, so I tried out a different one, only to be greeted with the same error message. After trying a couple of other ones, I finally realized it was the OEM playing its dirty tricks once again. But hey, I wasn’t going to give up that easily! So I tried a bunch of tweaks and was finally able to change the fonts on my Samsung device running One UI 8/Android 16. And the best part? It doesn’t even require root! So without any further ado, let’s show you how this could be carried out.
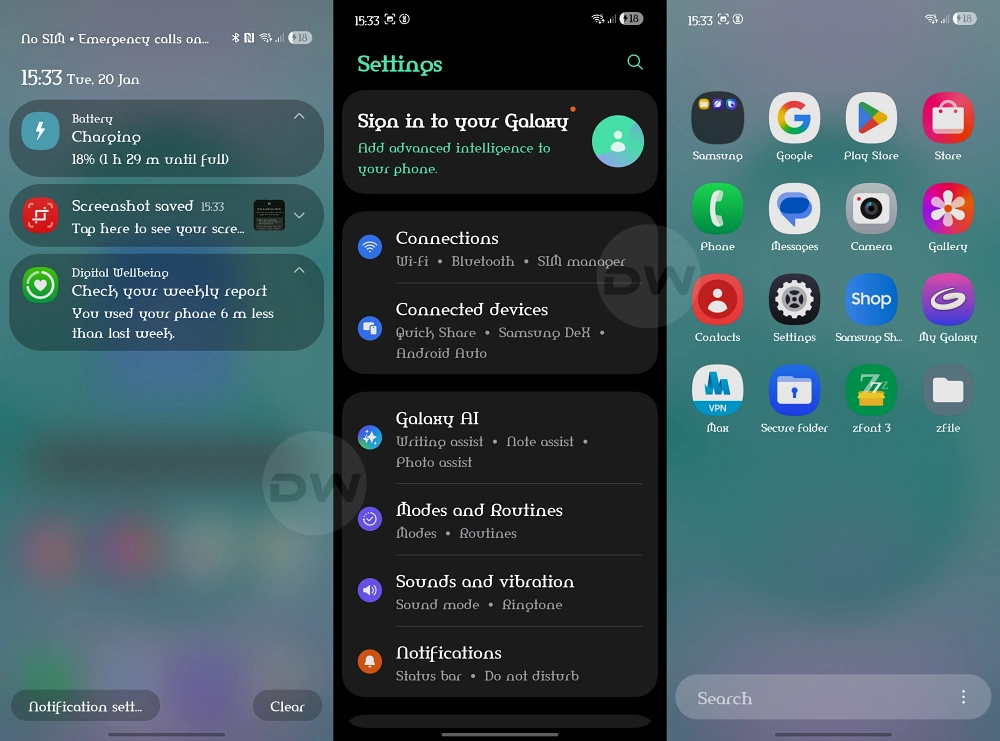
Custom Font Amerika on One UI 8 using my workaround!
- How to Change Fonts on Samsung One UI 8 Android 16 [Without Root] Via Third-Party App By Resigning the App
- Video Guide
- Will the Fonts be present in the Settings menu?
- Will the Fonts change in the Social Media apps?
How to Change Fonts on Samsung One UI 8 Android 16 [Without Root]

Given here are two methods that will help you get this job done, along with their pros and cons. Go through both of them once and then try out the one that is in sync with your requirement.
Via Third-Party App
Perks: Shorter and easier of the two.

Drawbacks: Might be patched anytime by Samsung.
- First off, download and install ZFonts 3 from the Play Store.
- Now launch it and hit Grant to give it the notification access. On some devices, ZFonts3 might require Shizuku access. You may install it from here .
- Now scroll down to the desired font and hit the Download icon at the bottom right.
- Then hit the checkmark at the bottom right and select One UI 8 from the list.
- Now tap on Create > Install Package > Install zFile [ or you may use any other file manager app].
- Finally, install the font APK, and it will be applied [if you get a Play Protect warning, tap on Install without scanning].
By Resigning the App
Perks: Less chance of being patched by Samsung.

Drawbacks: Lengthy and a tad bit complicated.
- To begin with, download, install, and set up Shizuku from this guide .
- Then download and install MT Manager on your device. Unable to install it? Take the help of InstallWithOptions .
- Launch MT Manager and give it storage + Shizuku access.
- Now download the desired font that you want to install. I’m using Google Sans for the sake of testing.
- Next, install a free Samsung font from the Galaxy Store, but do not apply it!
- Open MT Manager, tap on the hamburger menu, and select Extract APK.
- Select the font APK that you had just downloaded from the Galaxy Store [Samsung Sans in our case] and tap on Extract APK.
- Tap on Locate to go to the extracted APK. Again, tap on that APK and select View.
- Now go to the below location to access the fonts file [the file name will depend on the font you’re using]. assets/fonts/Samsungsans.ttf
- Copy the name of that font file, Samsungsans.ttf in our case, and delete that font file.
- Now transfer your downloaded font [Google Sans in my case] to that folder. For that long, press on it, and select Add > OK.
- Then, rename it with the same name that you had copied earlier [Samsungsans.ttf in my case].
- Now go back a couple of levels until you reach that font’s APK file. Then long-press on it and select Sign File > OK.
- You’ll get a new signed APK file with the sign keyword at the end of the name. Tap on it and hit Install. You’ll get a Warning, tap Install Directly.
- If that doesn’t work, then again open the app, but this time, tap OK. This will remove the existing font that we had downloaded from the Galaxy Store [Samsungsans] and will install the new one.
- That’s it. The font is now installed. Go to Settings > Display > Font and choose Samsungsans.ttf [even though the name is Samsungsans.ttf, it actually has the Google Sans font in our case].
- Finally, do a reboot for the font change to be implemented.
Video Guide

Will the Fonts be present in the Settings menu?
In my testing, only some third-party fonts can be accessed via the Settings > Display > Font and Style section.

Will the Fonts change in the Social Media apps?
In my testing, the custom fonts were applied on Instagram and YouTube, but not on X [Twitter].

- UN1CA One UI 8 Android 16 ROM for Samsung is Here!
- Battery Information Missing from Samsung One UI 8: How to Fix
- Samsung Removes OEM Unlocking from One UI 8!
- How to Install One UI 8/8.5 via ADB Sideload [Seamless Updates]
- How to OEM/Bootloader Unlock and Root in One UI 8 [All Samsung]

(Cancel Reply)
Δ
