How to Enable Safari Debug menu in macOS Monterey
In this guide, we will show you the steps to enable the Safari Debug menu on macOS Monterey. When it comes to web browsers, then there are a plethora of noteworthy names in this domain. But if we strictly talk about the Apple ecosystem, then Safari jas managed to maintain quite a stronghold. And one major reason for the same is its deep integration with numerous products and services from the Cupertino giants.
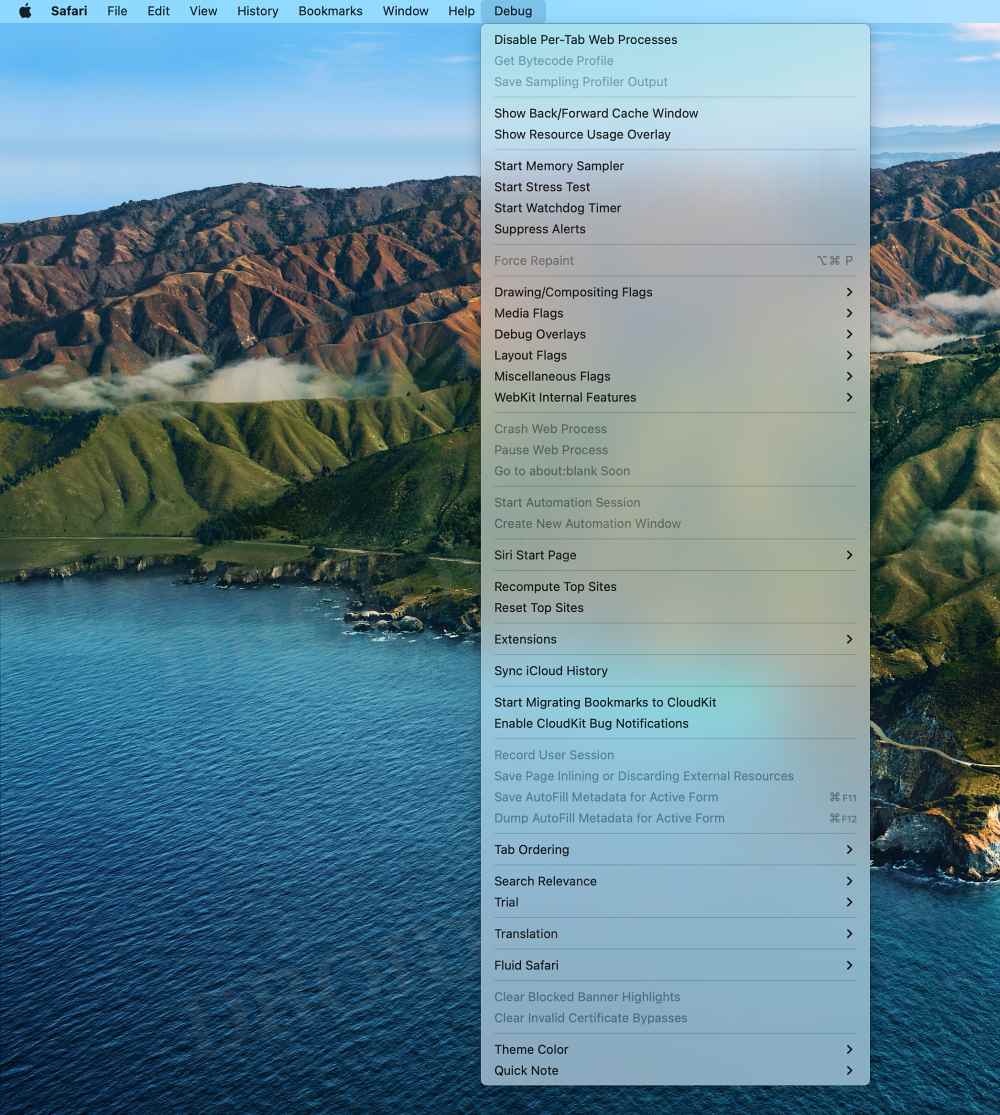
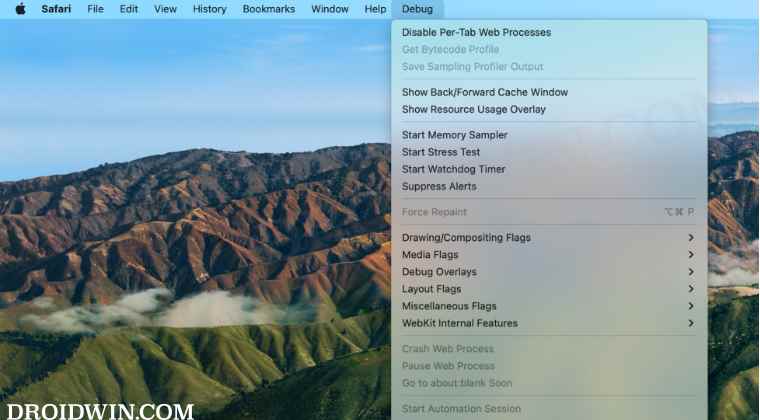
Apart from all the usual browse features, it also beholds a slew of geeks tweaks under the hood. Titled the Debug Menu, it includes the likes of Force Repaint, Show Frame Rate Meter, Disable Back/Forward Cache, numerous flags, Sync iCloud History, reset and recompute top sites, among others. However, since these are mostly technical in nature, Apple has hidden this section from normal users.
However, if you are among the tech enthusiast who wishes to dig deep into the technicalities of this browser, then you might have to interact with this tab quite regularly. Moroever, this section also has some features that are required for fixing bugs and issues. All in all, there could be quite a few reasons why you might want to unearth this hidden gem. So without further ado, let’s check out the steps to enable the Safari Debug menu on your macOS Monterey.
- How to Enable Safari Debug menu in macOS Monterey STEP 1: Backup Safari Preferences STEP 2: Give Full Access to Terminal STEP 3: Enable the Safari Debug menu
How to Enable Safari Debug menu in macOS Monterey
The below instructions are listed under separate sections for ease of understanding. Make sure to follow the same sequence as mentioned.
STEP 1: Backup Safari Preferences
First and foremost, we will recommend you take a backup of the Safari preferences plist file. In case something goes wrong while interacting with the debug menu, then you could easily revert the change by restoring the backed-up plist file. So refer to the below steps to carry out this task.
- Launch Finder, click on Go, and select Go to Folder.
- Then type in the below location and hit Enter ~/Library/Containers/com.apple.Safari/Data/Library/Preferences/
- Now copy the com.apple.Safari.plist file and paste it somewhere safe.
- After that, go to the following location via the Finder’s Go to Folder ~/Library/Preferences/com.apple.Safari.plist
- Again copy and paste the com.apple.Safari.plist file to somewhere safe.
STEP 2: Give Full Access to Terminal
Since we will be enabling the Safari Debug menu via Terminal, you will first have to give the latter full file access permission. Here’s how it could be done:
- Open System Preferences and go to Security & Privacy
- Then select Full File Access from the left menu bar.
- Now click on the lock icon present at the bottom left and enter your password.
- Then check Terminal from the list [if it is not there, then click on + and add it].
- Finally, click on Quit & Reopen in the dialog box [if prompted].
STEP 3: Enable the Safari Debug menu
- Open Launchpad, go to others, and launch Terminal.
- Then execute the below command in the Terminal. defaults write ~/Library/Containers/com.apple.Safari/Data/Library/Preferences/com.apple.Safari.plist IncludeInternalDebugMenu -bool YES
- Now open Activity Monitor from the Launchpad, select Safari, and hit the cross icon.
- Then click on Quit in the confirmation dialog box that appears.
- Relaunch Safari and you should now see the Debug menu at the top menu bar.
- Fix: Safari is unable to remember the last scroll position in iOS 15
- Cannot Upload Files via Chrome in macOS: How to Fix
- Chrome zoom in shortcut not working in macOS: How to Fix
- Google Photos unable to automatically sync photos on Mac due to Drive

(Cancel Reply)
Δ
