How to Manually Change Refresh Rate & Resolution on any Xperia
In this guide, we will show you the steps to manually change the refresh rate and display resolution on any Xperia device. Many OEMs, including the likes of Samsung, OenPlus, and even Pixel, give granular control to the user so that they could choose the resolution and rate according to their need.
But Sony, on the other hand, doesn’t have such a provision. It tends to automatically set both these settings to what it deems fit according to the current app that you are using or the task that you are executing on your Android device. While it does work well under certain instances but not all.
Moroever, a user should always have their say when implementing these settings. But while that is not the case by default way, you could still manually change the refresh rate and display resolution on your Xperia device with the help of a nifty workaround. And in this guide, we will show you how to do just that. Follow along.
- How to Manually Change the Refresh Rate & Resolution on any Xperia Non-Root Method Root Method
How to Manually Change the Refresh Rate & Resolution on any Xperia

There exist two different methods to get this job done- root and non-root and have discussed both of them below. You may refer to the one that is in sync with your requirement.
Non-Root Method
- To begin with, download and extract Android SDK Platform Tools on your PC.
- Then enable USB Debugging on your device and connect it to your PC via a USB cable.
- Now type in CMD in the platform-tools folder address bar and hit Enter. This will launch Command Prompt.
- Then type in the below command and hit Enter. You will get a prompt on your device, tap Allow/OK. adb shell
- Now execute the below command, where x= 0, 1, 2, or 3. Their values are given below as well service call SurfaceFlinger 1035 i32 x x= 0 1096x2560x60Hz x= 1 1644x3840x120Hz x= 2 1644x3840x60Hz x= 3 1096x2560x120Hz
- The first two are the resolution whereas the third one is the refresh rate. So in the case of x=2, the resolution will be set to 1644×3840, and the refresh rate at 120Hz.
Root Method
- To begin with, root your device via Magisk if you haven’t done so.
- Then download the Force 4K 120hz mod [Credits: Senior Member pandemic].
- Now launch Magisk, go to the Modules section, and tap on Install from Storage.
- Now select the mod ZIP file and tap OK in the confirmation prompt to flash it.
- Once done, hit Reboot. Your device will now reboot and the task stands complete.
- Fingerprint not working on Sony Xperia 1 III/5 II/5 III [Fix]
- How to Install Android 13 Custom ROMs on Xperia 1 III
- Install LineageOS 20 Android 13 on Sony Xperia 1 III
- How to Enable VoLTE and VoWiFi in Xperia 1 III

(Cancel Reply)
Δ
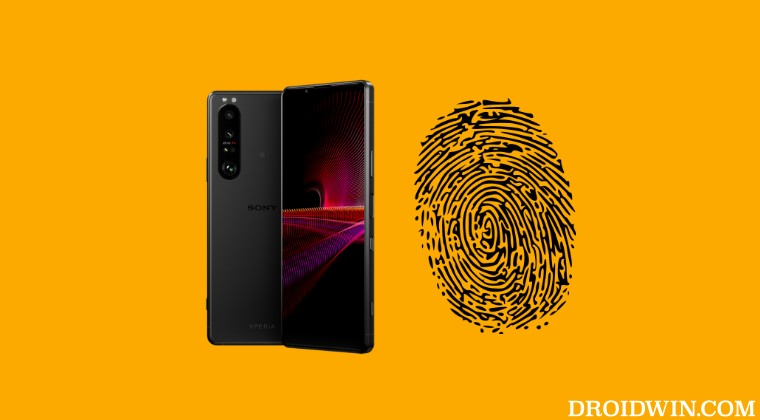
Fingerprint not working on Sony Xperia 1 III/5 II/5 III [Fix]
In this guide, we will show you various methods that might help you fix the fingerprint not working issue on Sony Xperia 1 III/5 II/5 III. No smartphone is free from its fair share of bugs and issues. From the Samsung flagships to the Google and OnePlus, each of them gets bugged with an error or two at frequent intervals. However, they tend to hear the user’s feedback and subsequently release a patch in the next OTA update that rectifies the issue.
However, with Sony, things are a little bit different. And not for good. They hardly seem to give any weightage to the user opinions and feedback. The perfect example of the same is the issues with the fingerprint on Sony Xperia 1 III/5 II/5 III that users are voicing their concern over for the past year or so but all these concerns all falling on deaf ears.
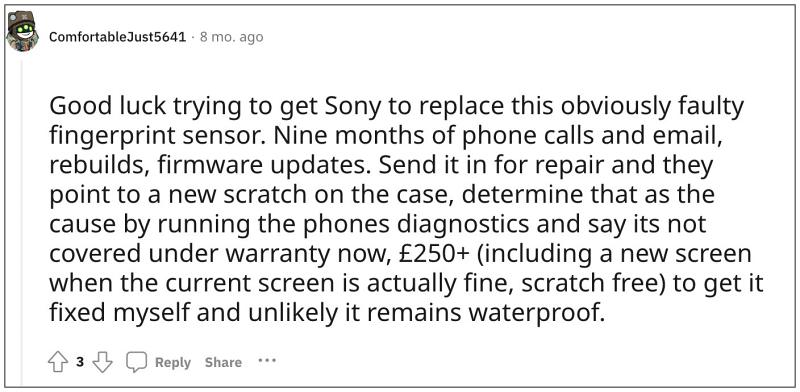
The inability of such a crucial function to work and ignorant behavior from the OEM has left users with no choice but to start looking for an alternative. This is really a sad state of affairs because if this is the kind of treatment users are getting after spending such a hefty sum of money, then the company is doomed for a downward spiral sooner than later.
With that said, there does exist a couple of workarounds that might give you a temporary respite from this bug [from a few hours to even a few days], and then you’ll have to again execute these fixes. While these are in no way the most feasible or viable way to get this job done, but as of now, these are the best tweaks that we have at our disposal. So with that in mind, let’s get started.
- Fix Fingerprint not working on Sony Xperia 1 III/5 II/5 III FIX 1: Boot to Safe Mode FIX 2: Re-Add Fingerprint FIX 3: Update Google Play System
Fix Fingerprint not working on Sony Xperia 1 III/5 II/5 III
It is recommended that you try out each of the below-mentioned workarounds and then see which one spells out success.
FIX 1: Boot to Safe Mode
Your first course of action should be to boot your device to Safe Mode. Doing so will disable all third-party apps and services and if the issue gets rectified, then the issue is with a third-party app, which needs to be uninstalled a the earliest. Here’s how it could be done:
- Long press the power key to bring up the Power menu.
- Then long tap on Power Off and you’ll get the Reboot to safe mode prompt.
- Tap OK and your device will then boot to Safe Mode.
- If the issue is no longer there in this mode, then boot your device to normal mode.
- Now uninstall the recently installed apps [one at a time] after which the issue first came to light.
- The last uninstalled app after which the issue doesn’t re-appear is your culprit and you should stay away from it.
FIX 2: Re-Add Fingerprint
For some users, deleting the existing fingerprint and re-adding it did the job. So do give it a try using the below-listed steps and check out the results.
- Head over to Settings and search Fingerprint Manager.
- Then hit Delete next to your existing fingerprint.
- Now tap on Add a new fingerprint and proceed with the on-screen instructions to add it.
- Check if it fixes the fingerprint not working issue on Sony Xperia 1 III/5 II/5 III.
FIX 3: Update Google Play System
For some, updating the Google Play System to the latest version managed to rectify the underlying issue. So let’s give it a try using the below-listed steps and then check out the results.
- Head over to Settings> Security > Google Play System.
- Then tap on Check for Updates and install the pending updates.
- Once done, restart your device and check out the results.
That’s it. These were the various methods to fix the fingerprint not working issue on Sony Xperia 1 III/5 II/5 III. As far as the official stance on this matter is concerned, the developers are yet to acknowledge this issue, let alone give out any ETA for the rollout of a fix. As and when any of these two things happen [chances of which are quite rare], we will update this guide accordingly. In the meantime, the aforementioned workarounds are your best bet.
- How to Install Android 13 Custom ROMs on Xperia 1 III
- Sony Xperia Battery Drain after January update: How to Fix
- How to Enable VoLTE and VoWiFi in Xperia 1 III
- Sony Xperia 1 IV Overheating Issue: How to Fix
(Cancel Reply)
Δ
