How to Root Custom ROMs via SukiSU Ultra
In this guide, we will show you the steps to root your Custom ROM via SukiSU Ultra. While rooting via Magisk, KernelSU/Next, or APatch are still the go-to choices for tech enthusiasts, however, some users are slowly inclining towards SukiSU Ultra as well. One major reason for the same is the fact that, as opposed to Magisk and KernelSU, many banking and payment apps have yet to flag Sukisu as an SU app.
As a result of this, you might be able to hide root from these banking apps with a relatively greater degree of ease when your device is rooted via SukiSU as compared to the other two [Magisk/APatch]. As far as its feature set is concerned, it beholds all the useful ones in its arsenal that the other players in this domain have to offer.
Recently, I wrote an article and also made a video on how you can root your Android device using SukiSU Ultra . While I did cover a couple of methods to get this job done, however, they all focused on the stock firmware. So in this guide, I will be focusing on the steps to root your Custom ROM via SukiSU Ultra. Follow along.
- How to Root Custom ROMs via SukiSU Ultra METHOD 1: Root Custom ROM via SukiSU Ultra using a Custom Kernel Via Custom Recovery Via AOSP Recovery METHOD 2: Root Custom ROM via SukiSU Ultra using Patched Boot/Init_Boot STEP 1: Install Android SDK Platform Tools STEP 2: Enable USB Debugging and OEM Unlocking STEP 3: Unlock Bootloader STEP 4: Extract Stock Boot/Init_Boot STEP 5: Patch Boot/Init_Boot via SukiSU Ultra STEP 6: Boot to Fastboot Mode STEP 7A: Root Custom ROMs using SukiSU Ultra Patched Boot.img STEP 7B: Root Custom ROMs using Sukisu Ultra Patched Init_Boot.img
- FAQ: How to Find KMI Version
How to Root Custom ROMs via SukiSU Ultra
Before starting, please take a complete device backup. Droidwin and its members wouldn’t be held responsible in case of a thermonuclear war, your alarm doesn’t wake you up, or if anything happens to your device and data by performing the steps below.
There exist a couple of methods through which you can root the custom ROM using SukiSU Ultra- via a custom kernel or by patching and flashing the boot/init_boot.img file of the ROM. We have listed both methods below; you may try out the one that is in sync with your requirements.
METHOD 1: Root Custom ROM via SukiSU Ultra using a Custom Kernel
You can flash the custom kernel via a custom recovery like TWRP/OrangeFox or via an AOSP Recovery like LineageOS. Both methods are given below, follow the one of your choice.
Via Custom Recovery
- To begin with, download the SukiSU Ultra APK and transfer it to your device.
- Next, download a kernel that supports SukiSU Ultra and transfer it to your device.
- Now install a custom recovery onto your device.
- Then boot your device to the recovery via the below command: adb reboot recovery //From the OS fastboot reboot recovery //From Fastboot Mode
- Now go to Install, select the custom Kernel, and flash it.
- Then go to Reboot > System to boot to the OS.
- Now install the SukiSU Ultra app on your device and launch it.
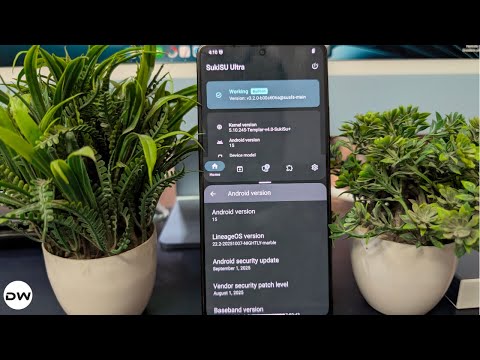
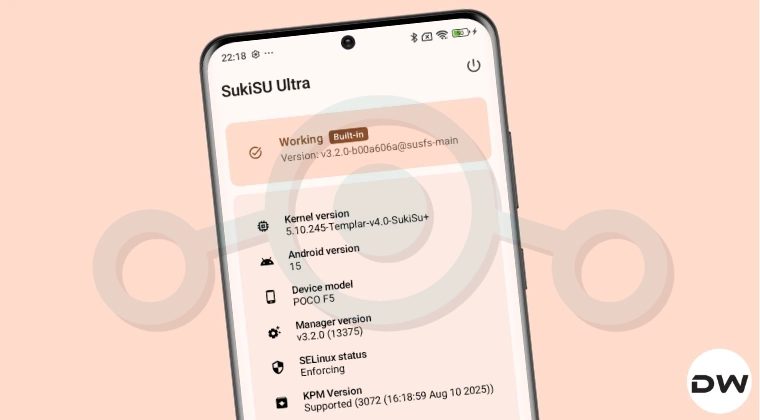
- It should show the status as Working.
Via AOSP Recovery
- First off, download the SukiSU Ultra APK and transfer it to your device.
- Then download the Android SDK Platform Tools on your PC.
- Now download a kernel that supports SukiSU Ultra.
- Then transfer it to the platform-tools folder and rename it to kernel.
- Then boot your device to the AOSP Recovery via the below command: adb reboot recovery
- Now go to Apply Update > Apply from ADB and type in the command below: adb sideload kernel.zip
- Then go to Reboot > System to boot the device to the rooted OS.
- Launch the SukiSU Ultra app; it should now show as Working.
METHOD 2: Root Custom ROM via SukiSU Ultra using Patched Boot/Init_Boot
If your device does not have a custom kernel that supports SukiSU Ultra, then in that case, you are left with no choice but to opt for the patching and flashing boot/init_boot file.
STEP 1: Install Android SDK Platform Tools

First and foremost, you will have to install the Android SDK Platform Tools on your PC. This is the official ADB and Fastboot binary provided by Google and is the only recommended one. So download it and then extract it to any convenient location on your PC. Doing so will give you the platform-tools folder, which will be used throughout this guide.
STEP 2: Enable USB Debugging and OEM Unlocking
Next up, you will also have to enable USB Debugging and OEM Unlocking on your device. The former will make your device recognizable by the PC in ADB mode. This will then allow you to boot your device to Fastboot Mode. On the other hand, OEM Unlocking is required to carry out the bootloader unlocking process.

So head over to Settings > About Phone > Tap on Build Number 7 times > Go back to Settings > System > Advanced > Developer Options > Enable USB Debugging and OEM Unlocking.
STEP 3: Unlock Bootloader
Next up, you will also have to unlock the device’s bootloader. Do keep in mind that doing so will wipe off all the data from your device and could nullify its warranty as well. So if that’s all well and good, then please refer to our detailed guide on How to Unlock Bootloader on any Android Device .

STEP 4: Extract Stock Boot/Init_Boot
If your device shipped with Android 12 or older version out of the box, then you’ll have to use the boot.img and patch, and flash it via SukiSU Ultra. On the other hand, if the device comes with Android 13 or higher versions, then you should use the init_boot.img [both these methods are explained in this guide].
- Download the custom ROM, the same version that is currently installed on your device.
- Once downloaded, extract it to any convenient location on your PC.
- For Pixel devices, you can simply extract the firmware via WinZIP/WinRAR and get the boot.img/init_boot from the Images folder.
- Likewise, for Xiaomi, download the Fastboot ROM and extract the TGZ followed by TAR folders to get to the Images folder from wherein you can get the boot/init_boot file.
- However, for other OEMs, things are a little bit different. So refer to your device-specific guides to extract the stock boot/init_boot file for your device from the below links: Extract OnePlus payload.bin and get the stock boot image file How to Extract OZIP Realme/Oppo Stock ROM (Firmware) How to Extract Sony Boot.sin and get the Stock Boot.img File How to Extract Boot.img from LG KDZ or DZ Firmware
- Once you have extracted the firmware, copy the boot.img file [if your device shipped with Android 12 or older] or init_boot.img [if your device shipped with Android 13/14/15 out of the box] and transfer it to your device.
STEP 5: Patch Boot/Init_Boot via SukiSU Ultra
NOTE: The steps to patch the boot.img or init_boot via SukiSU Ultra are the same.
- To begin with, download and install the latest SukiSU Ultra app on your device.
- Then launch it and tap on Not Installed > Select a File > choose the stock boot.img/init_boot.img file. [If it asks for KMI, then see FAQ at the end of this guide].
- The boot.img/init_boot.img file will now be patched and placed under the Downloads folder on your device.
- You should transfer this patched boot/init_boot file to the platform-tools folder on your PC.
- Also, rename it sukisu_patched. We will now be using this file to root your Android device via SukiSU Ultra.
STEP 6: Boot to Fastboot Mode
- Now connect your device to the PC via USB cable. Make sure USB Debugging is enabled.
- Then head over to the platform-tools folder, type in CMD in the address bar, and hit Enter. This will launch the Command Prompt.
- Type in the following command in the CMD window to boot your device to Fastboot Mode adb reboot bootloader
- To verify the Fastboot connection, type in the below command and you should get back the device ID. fastboot devices
STEP 7A: Root Custom ROMs using SukiSU Ultra Patched Boot.img
- First off, make sure that the boot file is present in the platform-tools folder and is renamed as sukisu_patched.img
- Then type in the below command in the CMD window to flash the patched init_boot.img file: fastboot flash boot sukisu_patched.img
- Now boot to the rooted OS via the below command: fastboot reboot
STEP 7B: Root Custom ROMs using Sukisu Ultra Patched Init_Boot.img
- First off, make sure that the init_boot file is present in the platform-tools folder and is renamed as sukisu_patched.img
- Then type in the below command in the CMD window to flash the patched init_boot.img file: fastboot flash init_boot sukisu_patched.img
- If the above command didn’t work, then you should manually flash the init_boot to both slots using the below command: fastboot flash init_boot_a sukisu_patched.img fastboot flash init_boot_b sukisu_patched.img
- Now boot to the rooted OS via the below command: fastboot reboot

- First off, find the kernel version of your device.
- It’s usually there in the Settings > About Phone page, or you can simply search Kernel Version in the Settings menu.
- In my case, it is: 5.10.240-gki-g7c16c16e527d
- This means: 5.10.240 → Kernel version gki → Generic Kernel Image, which defines a KMI boundary (Kernel Module Interface level) g7c16c16e527d → Git commit hash or build identifier.
- Now, Google follows the following KMI syntax: android
-<kernel_major>. - - In our case, Android version → 15 Kernel → 5.10.240, this syntax corresponds to: API=15 kernel_major=5 minor=10 patch=240
- So the KMI in our case is: android15-5.10-240
- However, Android 15 still uses the same 5.10 GKI branch that started in Android 13, so the official name used by Google for 5.10 GKI is: android13-5.10-240
- So you should use android13-5.10 in the drop-down list of the GKI Kernel [patch is not required].
- How to Root your Android device via Magisk
- Root your Android device using the KernelSU
- How to Root Your Android Device via APatch

(Cancel Reply)
Δ
