How to Root GSI ROM via Magisk [2 Methods] [Video]
In this guide, we will show you the steps to root any GSI ROM via Magisk. Not every device is lucky enough to get blessed with a custom ROM. For those sets of devices, a Generic System Image is more than enough to checkmark their requirement. Offering all the feature set that a custom ROM has to offer, these system images make it possible for even the less popular devices to enjoy all the latest goodies in town. However, there is a major difference in how these ROMs work.
Right from its flashing steps to gaining administrative access, things are a tad bit different. For instance, in custom ROMs, you just need to extract the boot.img, patch it via Magisk, and flash it via Fastboot Commands. However, things don’t work that way with GSI as they don’t have any boot.img to deal with. But fret not. There still exists a nifty workaround through which you could root the GSI ROM via Magisk. So without further ado, let’s show you how this could be carried out.
- How to Root GSI ROM via TWRP [Video]
- Root GSI ROM via Magisk and Boot/Init_Boot [Without TWRP] STEP 1: Get Boot/Init_Boot STEP 2: Patch Boot/Init_Boot STEP 3: Boot to Fastboot Mode STEP 4A: Root Device using Magisk Patched Boot STEP 4B: Root via Init_Boot
How to Root GSI ROM via TWRP [Video]

While the process will not wipe off data, it is still recommended to be on the safer side and take a complete device backup beforehand. Droidwin and its members wouldn’t be held responsible in case of a thermonuclear war, your alarm doesn’t wake you up, or if anything happens to your device and data by performing the below steps.
- First off, download and extract Android SDK Platform Tools on your PC.
- Then download the latest Magisk APK and send it to your device.
- Now grab hold of the TWRP [only IMG file will do, no need for the ZIP] from its official site or XDA
- Then send it to the platform-tools folder. Likewise, rename it to twrp.img.
- Now enable USB Debugging on your device and connect it to your PC via a USB cable.
- Then launch CMD inside the platform-tools folder and type in the below command to boot your device to Fastboot Mode: adb reboot bootloader
- Now, verify if your device has a recovery slot or not , and then use “either of the two” below commands accordingly: fastboot flash recovery twrp.img //if your device has a recovery partition fastboot boot twrp.img //if your device does not have a recovery partition
- From TWRP, go to Install > select Magisk ZIP > flash it.
- Once done, go to reboot and select System. Your device will now boot to the OS.
- Now install the Magisk app as well. Once done, launch it.
- You will now get a prompt to complete additional setup, tap OK.
- Then select Direct Install and tap on Let’s Go. Once done, tap Reboot.
- Your device will reboot to the rooted OS and your task stands complete.
Root GSI ROM via Magisk and Boot/Init_Boot [Without TWRP]

In the earlier method, we showed you the steps to root the GSI ROM via TWRP. However, not every ROM has a working custom recovery. So for those sets of devices, they could use this non-TWRP method to root their GSI ROM. Here’s how.
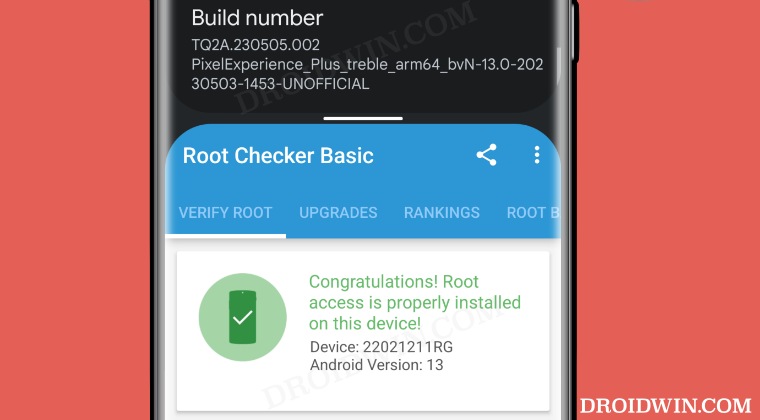
NOTE: If your device came with Android 12 or older version out of the box, then you’ll have to use the boot.img file for rooting purpose. On the other hand, if it came with Android 13 or higher versions, then you should use the init_boot.img file.
STEP 1: Get Boot/Init_Boot
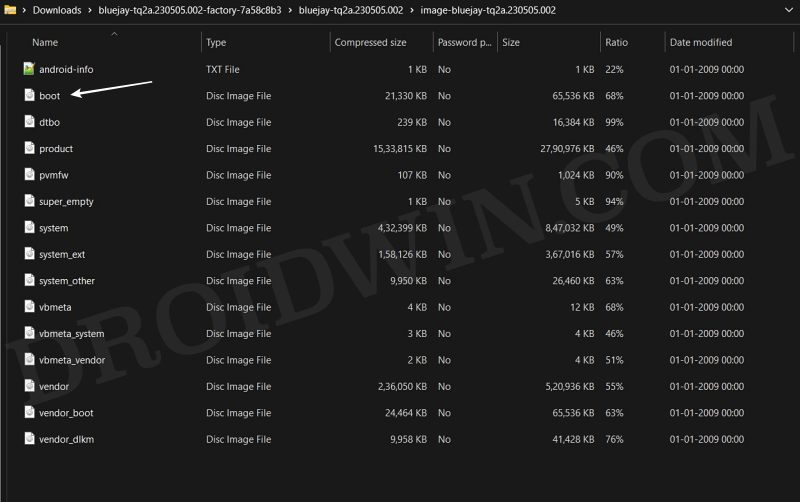
This is the most challenging part. You’ll have to get hold of the boot.img/init_boot.img of the same firmware version that was installed on your device [in other words, the ROM which is currently acting as a base firmware]. You cannot get hold of the boot.img for the currently installed GSI ROM because it doesn’t have any [a GSI ROM is just a system.img].
For instance, I flashed the LineageOS 20 on top of MIUI v14.0.23.5.15, so my base firmware is MIUI v14.0.23.5.15, and I’ll have to extract the boot.img/init_boot.img from that MIUI firmware itself. However, in case you aren’t aware of that base firmware version, then you have no other option but to reflash the base firmware [any version], extract the boot.img from that firmware, and then flash the GSI ROM .
STEP 2: Patch Boot/Init_Boot
- Download and install the Magisk App on your device.
- Then launch it and tap on the Install button next to Magisk.
- After that, choose ‘Select and Patch a File’, and navigate to the stock boot.img/init_boot.img, and select it.
- Then tap on the Let’s Go button situated at the top right.
- The boot.img file will now be patched and placed under the Downloads folder on your device.
- You should transfer this file to the platform-tools folder on your PC. We will now be using this file to root your GSI ROM.
STEP 3: Boot to Fastboot Mode
- Connect your device to the PC via USB cable. Make sure USB Debugging is enabled.
- Then head over to the platform-tools folder, type in CMD in the address bar, and hit Enter. This will launch the Command Prompt.
- Type in the following command in the CMD window to boot your device to Fastboot Mode adb reboot bootloader
- To verify the Fastboot connection, type in the below command and you should get back the device ID. fastboot devices
STEP 4A: Root Device using Magisk Patched Boot

On the other hand, if things don’t go as planned and your device ends up in a bootloop/softbrick, then just a normal reboot will fix the issue. So on that note, let’s get started with the second approach. For that, execute the below command in the CMD window and your device will be booted to a temporarily rooted OS.
fastboot boot magisk_patched.img
Root GSI via Magisk Direct Install : After executing the above command, your device will be booted to the OS with a temporary root. Here’s how to make it permanent:
- To begin with, launch the Magisk Manager App.
- Then tap on Install > Direct Install and tap Let’s Go situated at the top-right.
- Once done, hit the Reboot button situated at the bottom right.
- That’s it, your device will now boot to the rooted OS.
STEP 4B: Root via Init_Boot
When it comes to init_boot, you cannot temporary boot using the patched file, instead you’ll have to permanently flash it. So use the below command to get this job done:
fastboot flash init_boot patched_init_boot.img

fastboot reboot
- How to Root Derpfest ROM via Magisk [Video]
- How to Root crDroid ROM via Magisk [Video]
- Root Project Elixir ROM Android 13 via Magisk [Video]
- How to Root Pixel Experience ROM via Magisk [Video]
- How to Root LineageOS ROM via Magisk Boot [Video]

- Minh 1 year ago Reply Samsung dont have fastboot, can you show me how to root gsi without twrp and fastboot?
(Cancel Reply)
Δ
