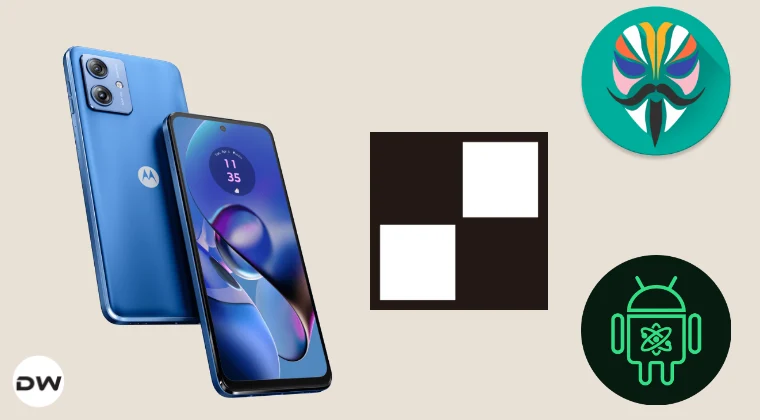
How to Root Motorola G54 via Magisk/KernelSU/APatch
In this guide, we will show you the steps to root your Motorola G54 via Magisk, APatch, and KernelSU. I usually don’t write separate guides for rooting Android devices. It’s usually one guide that fits all. However, things are a tad bit different with this device. When I first got my hands on it and proceeded to root, I was greeted with the Preflash Verification Failed error.
Truth be told, this was the first time I came across this issue. It required some additional debugging, which I performed, and I was then able to identify the root cause of the problem and, more importantly, its rectification measures. Therefore, I thought it would be beneficial to document my findings here, as anyone else with the same devices may encounter this problem. So without any further ado, let’s get started.
- How to Root Motorola G54 via Magisk
- How to Root Motorola G54 via KernelSU
- How to Root Motorola G54 via APatch
How to Root Motorola G54 via Magisk

Before starting with the rooting process via Magisk/APatch/KernelSU, please take a complete device backup. Droidwin and its members wouldn’t be held responsible in case of a thermonuclear war, your alarm doesn’t wake you up, or if anything happens to your device and data by performing the below steps.
- Download and extract Android SDK Platform Tools on your PC.
- Then, enable USB Debugging & OEM Unlocking on your device.
- Now unlock the bootloader on your device [take a backup first].
- Then download the stock firmware for your device and region.
- Now extract it, get the boot.img, and transfer it to your device. NOTE 1: Usually, devices launched with Android 13+ use init_boot.img, but that is not the case with Motorola G54 as it still uses boot.img for root, even though it came with Android 13 out of the box.
- Next, download the Magisk app and install it on your device.
- Then launch it, hit Install next to Magisk, and select boot.img.
- The file will be patched and placed in the Downloads folder.
- Transfer it to the platform-tools folder. Then open CMD there.
- Then type in the below command to boot the device to FastbootD adb reboot fastboot NOTE 2: Most Android devices require you to flash the patched boot file in the Fastboot/Bootloader Mode. However, that’s not the case with Moto G54 as it requires flashing in FastbootD Mode.
- Now type in the below command to flash the patched boot.img fastboot flash boot patched_boot.img
- Finally, boot the device to the OS via the below command: fastboot reboot
- Now launch Magisk. You might get a prompt of “Require Additional Setup”.
- Tap OK > select Direct Install [Recommended] > hit Reboot.
- Your device will now reboot to the rooted OS.
How to Root Motorola G54 via KernelSU
You can refer to the below steps to root your Motorola G54 via KernelSU, just make sure to flash the patched in the FastbootD Mode instead of Fastboot.
How to Root Android Device via KernelSU [GKI and LKM]
How to Root Motorola G54 via APatch
You can refer to the below steps to root your Motorola G54 via APatch, just make sure to flash the patched in the FastbootD Mode instead of Fastboot.
Root Android via APatch: Give SU Access Flash Module Install OTA

(Cancel Reply)
Δ
