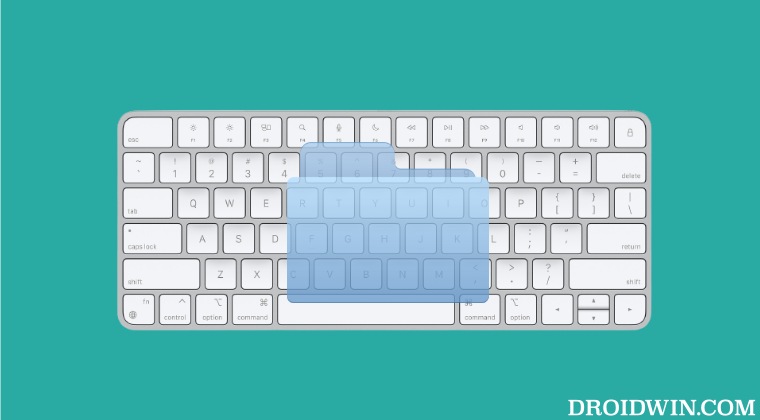
Open a Folder using Keyboard Shortcut in Mac [without any app]
In this guide, we will show you a nifty method using which you could open a folder using the keyboard shortcut on your Mac. There exists quite a few third-party apps through which you could get this job done. Some of the noteworthy ones include the likes of Spark and Default Folder X. However, I usually likes to take the traditional route and maintain a safe distance from third-party apps, until and unless it is an absolute necessity.
Fortunately, that is not the case this time around as you could easily carry out this task via the Mac’s Automator app. While the initial setup might sound daunting at first, but the below simplified instructions should help you out . Moroever, it is just a one-time effort. From next time onwards, you could easily open a folder directly using the keyboard shortcut on your Mac, without the need to invoke the Automator app. So on that note, let’s get started.
How to Open a Folder using Keyboard Shortcut in Mac [without any app]
- Go to Launchpad > Others and open Automator.
- Then click on File > New, select Quick Action, and click Choose.
- Now select Workflow Receives “No Input” in “any application”.
- Then drag Run Shell Script from the left hand side onto the right.
- Now type in the below command [replace folder location accordingly] Syntax: open folder-location Example: open /Users/sadique/Applications/Droidwin
- Once done, click Run at the top right and it should now open the intended directory.
- If that’s well and good, then go to File > Save, give it a name, and hit Save.
- Now go to System Settings > Keyboard > Shortcuts > Services.
- Expand the General section and your newly created shortcut will be applied there.
- Click on it and just assign the shortcut of your choice. That’s it.
- How to Create a New Text File in a Folder on Mac
- Safari Translation not working on Mac/iPhone: How to Fix
- The software for the printer was installed incorrectly on Mac [Fix]
- How to Disable Auto Correct in TextEdit on Mac

(Cancel Reply)
Δ
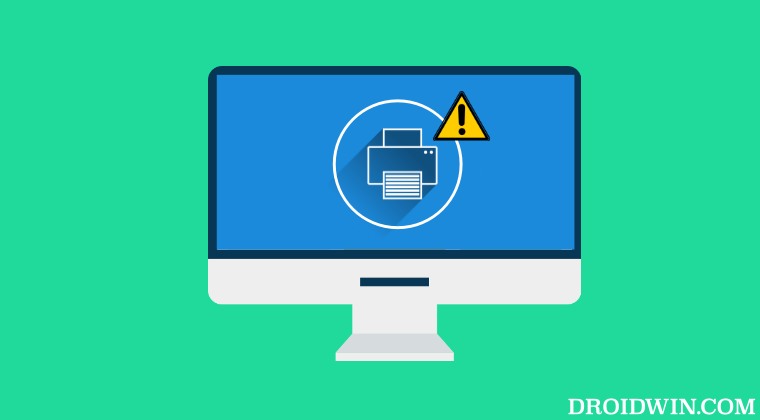
The software for the printer was installed incorrectly on Mac [Fix]
Numerous users have recently voiced their concern that they are unable to set up their printers. Whenever they are trying to do so, they are instead greeted with the “software for the printer was installed incorrectly Please reinstall the software from the manufacturer” error message on their Mac. If you are also in the same boat, then this guide will make you aware of a couple of nifty workarounds to effectivity address this bug. Follow along.
- Fix The software for the printer was installed incorrectly on Mac FIX 1: Verify Certificate Date FIX 2: Add Printer via IP Address FIX 3: Manually Place PPD Files FIX 4: Install Unsigned Drivers
Fix The software for the printer was installed incorrectly on Mac
It is recommended that you try out each of the below-mentioned workarounds and then see which one spells out success. So with that in mind, let’s get started.
FIX 1: Verify Certificate Date
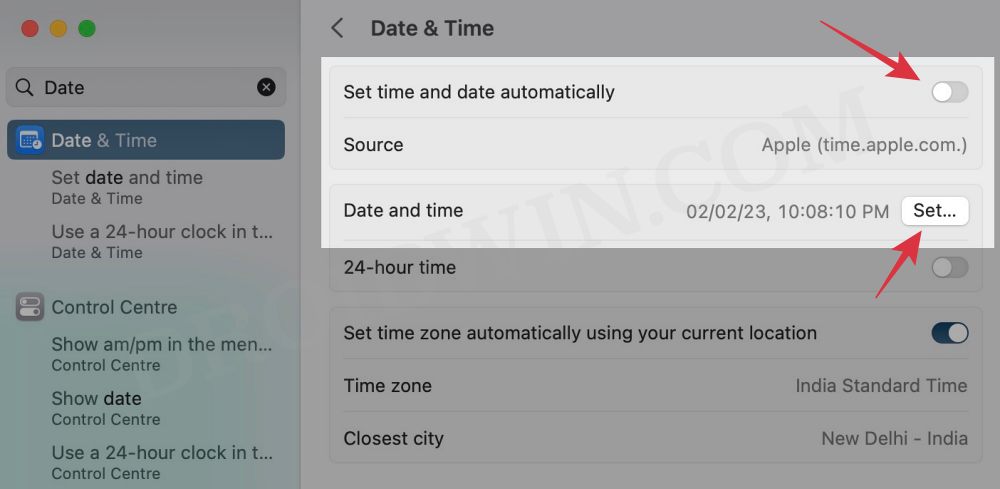
First off, make sure that the printer’s drivers aren’t expired. If they are, then you should first disconnect your Mac from the internet, change the date on your Mac prior to the expiration date, and then retry the installation. Or if that doesn’t work out, then try out our second fix listed below.
FIX 2: Add Printer via IP Address
If you’re having an expired encryption certificate for your printer and the aforementioned tweak didn’t spell out success, then your next course of action is to install the printer via its IP Address. Here’s how it could be done:
- Open S ystem Settings > Network and select your printer.
- Then note down the IP Address next to your printer.
- Now S ystem Settings and go to Printers and Scanners.
- Then select your printer from the list and delete it.
- After that, click on Add Printer.. and go to the Web tab.
- Then type in the IP Address and it will bring the printer, hit Add.
- Check if it fixes the “software for the printer was installed incorrectly” error on Mac.
FIX 3: Manually Place PPD Files
- The driver package that you have downloaded might also have a few PPD files.
- So copy those PPD files and place them at the following location /Library/Printers/PPDs/Contents/Resources/
- Now check if it fixes the “software for the printer was installed incorrectly” error on Mac.
FIX 4: Install Unsigned Drivers
If you could only get hold of the drivers from unknown developers or they are unsigned but you are ready to take the risk, then here’s how you to install these unsigned drivers.
- Go to Launchpad > Others and select Terminal.
- Then type in the below command in the terminal: sudo spctl –global-disable
- Now try installing the driver and check out the result.
- Printer not working in macOS Ventura: How to Fix
- Printer Error: Stopped Filter failed on Mac [Fixed]
- How to Clear and Rebuild Icon Cache on Mac
- Adobe Illustrator v27 crashing on Mac and Windows [Fixed]
(Cancel Reply)
Δ
