Remove Google Updater from Allow in the Background on Mac
In this guide, we will show you the steps to remove Google Updater from the Allow in the Background on Mac. There are a few services that continuously run in the background on your macOS even if their associated apps aren’t running in the foreground. They are needed to carry out some backend tasks such as checking for updates or syncing data. While it does come in handy under certain instances, but it comes at a cost.
And it is at the expense of unnecessary hogging of system resources and additional battery drain on your MacBook. Fortunately, the OS gives us the option to disable the services from running in the background. However, there could be a few instances wherein you would have already uninstalled an app from your Mac but its associated service will still be listed under the background section and might even be carrying out its functions.
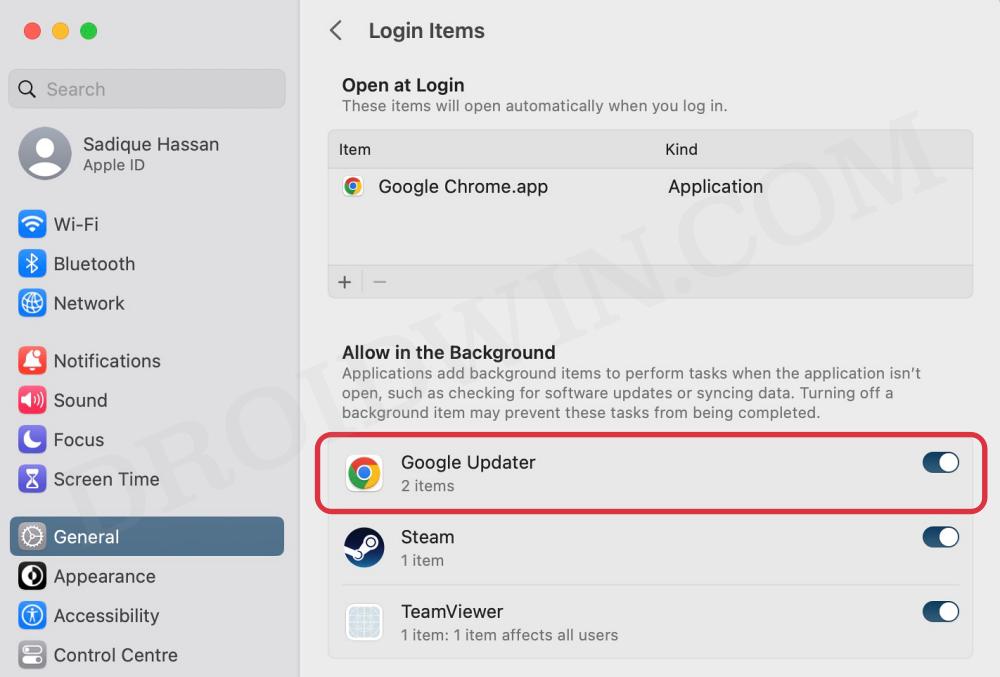
One among them is the Google Updater app that tends to stay in the Allow in the Background section on your Mac even after you have uninstalled Chrome. So is there a way of removing that service? Turns out there is one and in this guide, we will make you aware of just that. Follow along.
- Remove Google Updater from Allow in the Background on Mac Method 1: Delete the Chrome Plist File Method 2: Tweak the Chrome Plist File
Remove Google Updater from Allow in the Background on Mac

The reason why are facing this issue is due to the fact that some Chrome files are still left behind in the LaunchAgents or Daemons folder. So, all that you need to do is delete those files which in turn will remove the Google Updater from the Allow in the Background section. There are two different methods of doing so, go through both of them and then try out the one that is in sync with your requirement.
Method 1: Delete the Chrome Plist File
- Open Finder, click on Go at the top menu bar, and select Go to Folder.
- Then paste the below location and hit Enter. ~/Library/LaunchAgents
- Now delete all the plist files that correspond to Google Chrome, which, as you could see from the above image, are: com.google.keystone.agent.plist com.google.keystone.xpcservice.plist
- Then go to the below location and delete the Chrome plist files from there as well [if present]. /Library/LaunchAgents
- Finally, go to the following location and delete the Chrome plist files [if present]: /Library/LaunchDaemons
- Once done, restart SystemSettings and Google Updater will no longer be there under Allow in the background on your Mac.
Method 2: Tweak the Chrome Plist File
- Open Finder, click on Go at the top menu bar, and select Go to Folder.
- Then paste the below location and hit Enter. ~/Library/LaunchAgents
- Now right-click on com.google.keystone.agent.plist and select Open with > Text Edit.
- Then refer to the following line:
RunAtLoad - Change its Value to False, so that the command becomes:
RunAtLoad - Finally, restart System Settings and your task stands complete.
- System Settings loading speed in Ventura is damn slow!
- Login Items are no longer hidden on Ventura: How to Fix
- Wrong Icons for Aliases in Dock folder on Ventura: How to Fix
- Continuity Camera not working Wirelessly on Ventura [Fixed]

- Bico 3 years ago Reply doesn’t work, the pop up keeps coming like a Deamon
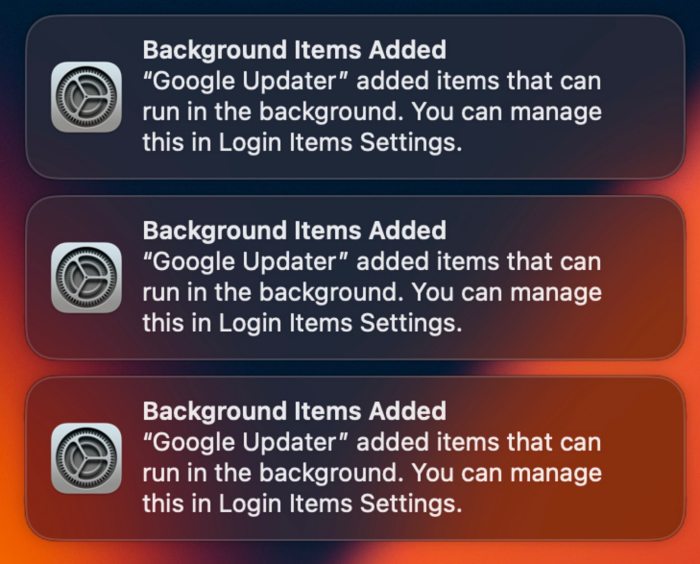
- Franklin 3 years ago Reply I followed your above instructions to rid myself of Google updater… 1. Google Updater is turned off in (General->Login Items) 2. There we NO Google files listed, either LaunchAgents or LaunchDaemons! While I was doing the above exercise, Google announced via notifications that “Background Items Added” by Google Updater – 6 times! And while Google nicely tells me I can manage ‘this’ in Login settings, Google conveniently ignores the ‘turned-off’ button!
- Lisa 3 years ago Reply ah! finally! Thanks. Those notifications were driving me bonkers.
- Peggy 3 years ago Reply Hi there…. I really appreciate the information you provided about removing Google Updater in the Allow in the Background section. I followed the steps but I still get notifications from Google Updater. Any further suggestions to try? Thanks, Peggy
- Peggy 3 years ago Reply Hi there…. I really appreciate the information you provided about removing Google Updater in the Allow in the Background section. I followed the steps but I still get notifications from Google Updater. Do you have any other suggestions that I could try. Thanks, Peggy
- fox 3 years ago Reply thank you.. that did the trick 🙂
- Irina 3 years ago Reply Hey there! Thanks a lot for your article. After doing all the steps in the article and successfully removing google updater, when I restarted my mac, google updater was automatically installed again and all the files I previously deleted were in the folder again. Is there anything else I can do? Thank you, Irina
(Cancel Reply)
Δ
