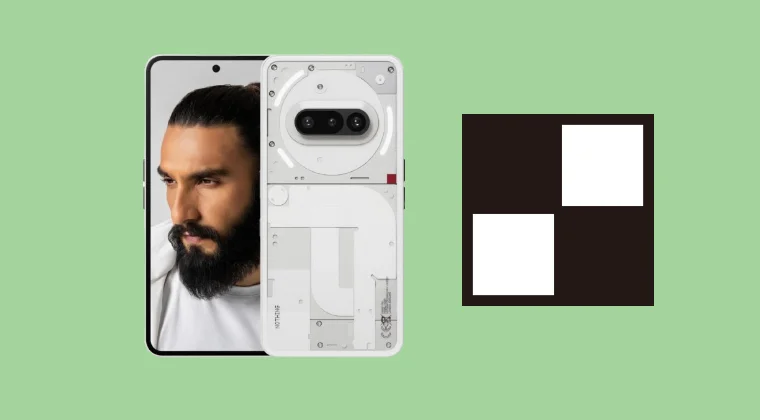
Root Nothing Phone 3a with SukiSU and Custom Kernel
In this guide, we will show you the steps to root your Nothing Phone 3A via custom kernel and SukiSU. The newest addition to the Nothing family manages to checkmark all the prerequisites at a price that is affordable to the masses. Moreover, with an underlying Snapdragon chipset, the device is guaranteed to be quite ana active player in the custom development, and the early signs does point in that direction.
One of the biggest steps in this regard is the fact that you can root your Nothing Phone 3A via custom kernel and SukiSU. While we already have hears about KernelSU but what is this SukiSU? Well, it’s just an unofficial fork of KernelSU, meaning it still uses the same kernel based approach to root an Android similar that the KernelSU does. Moreover, depending on the custom kernel you flash, you can also use the SUSFS module via SukiSU. So on that note, let’s get started.
Root Nothing Phone 3a with SukiSU and Custom Kernel
Before starting, please take a backup of all the data on your device. Droidwin and its members wouldn’t be held responsible in case of a thermonuclear war, your alarm doesn’t wake you up, or if anything happens to your device, and data by performing the below steps.
- To begin with, download and extract Android SDK Platform Tools .
- Once that’s done, unlock the bootloader on your device.
- Now download the custom kernel for your device from here . Credit: XDA Member edcsxz
- Then transfer the kernel file [boot.img] to the platform-tools folder.
- Now enable USB Debugging and boot your device to Fastboot Mode: adb reboot bootloader
- Once that is done, flash the custom kernel using the below command: fastboot flash boot boot.img
- Then do a format data using the below command [it’s compulsory]: fastboot -w
- After that, you may boot the device to the OS via the below command: fastboot reboot
- Then, download and install the SukiSU app . Then launch it and verify root. Credit: XDA Member edcsxz
- Now, download the SUSFS module . Then launch SukiSU and go to Module.
- Then tap on Install, select the SUSFS Module, and hit OK. Then hit Reboot.
- Finally launch SukiSU, go to Module, open SUSFS, customize it as required.
- How to Root Nothing Phone 2 via KernelSU
- How to Install OTA Updates on Rooted Device via KernelSU
- Guide to Switch from Magisk to KernelSU
- How to Hide Root via KernelSU on Rooted Android

(Cancel Reply)
Δ
