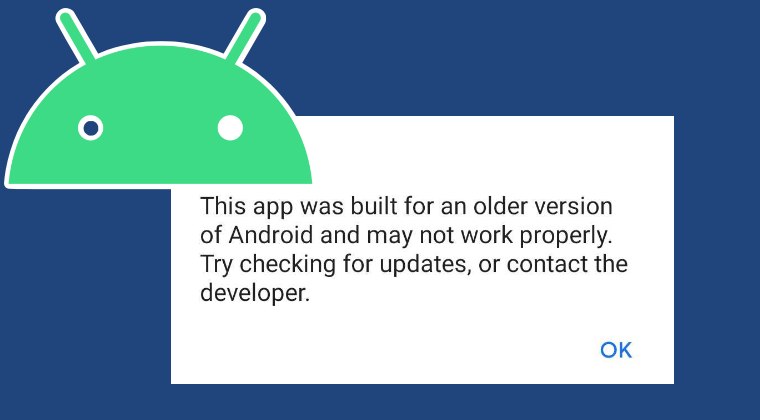
This app was built for an older version of Android [Fix without root!]
In this guide, we will show you the steps to fix the “This app was built for an older version of Android” error. The developers, when releasing their apps, tend to put a lower as well as an upper limit on the Android Software Development Kit, or in simpler terms, the oldest and newest version of Android OS.
In this regard, if the developer intends to have its app compatible with only a specific version of the OS, but you proceed ahead to install it on a newer OS build, then numerous components of the app will not function along the expected lines and you would witness frequent crashes.
So to avoid that from happening in the first place, the developer tends to put a restriction on its app, thereby preventing it from being installed on a higher OS build than what they intended. As a result, you wouldn’t be able to install the app from the Play Store and neither could you do a sideload.
If you try to do the latter, then you’ll be greeted with the “This app was built for an older version of Android” error. Fortunately, there does exist a nifty workaround using which you could bypass this limitation. And in this guide, we will show you how to do just that. Follow along.
- Fix This app was built for an older version of Android Using ADB Command Using APK Editor
Fix This app was built for an older version of Android
Using ADB Command
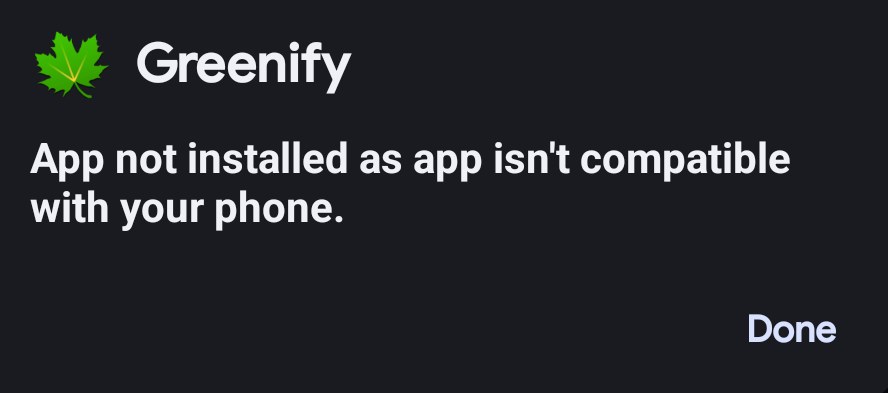
This is the easier of the two methods and should be the recommended one. So refer to our guide and get the job done right away: App not installed as App isn’t compatible with your phone [Fixed] .
Using APK Editor
Do note that after carrying out the below steps, you will be able to install the app but that doesn’t mean that it will function without any hiccups. Since you are installing an app that wasn’t aimed at your device’s Android version, there are bound to be a few roadblocks in your daily usage. So keep this point in mind while carrying out this tweak.
- First off, get hold of the APK file that you are planning to install.
- Then download and install the APK Editor app on your device.
- Now launch the app and tap on Select an APK File.
- Navigate to the downloaded APK and choose Common Edit.
- Now change the target SDK Version corresponding to your current Android version.
- So check yours from the below table, input that value, and hit Save. Credits: apilevels
- NOTE: If that SDK version does not work, then try choosing one that is a couple of versions lower, such as 31 or 32.
- The new APK will be saved in the APKEditor folder in Internal Storage.
- You could either install it from the APK editor app [hit Install in the prompt] or via File Manager.
- OnePlus 11 Downgrade APK not working: How to Fix
- Download Google Camera 9.0 APK [and List of all new features]
- How to Flash APK Files via TWRP Recovery
- Sideload APK/Install Apps via ADB in Galaxy Watch 5/Pro [2 Methods]

(Cancel Reply)
Δ
