Windows 11 File Explorer Sort By not working: How to Fix
In this guide, we will show you various methods to fix the Sort By feature not working in Windows 11 File Explorer. The OS from the Redmond giant beholds a total of four sort by options. These include the Name, Date Modifier, Type, and Size. By default, it is set to Bame but you are given complete liberty to switch to any of the other three remaining alternatives. However, that doesn’t seem to be working in its current state.

Numerous users have voiced their concern that irrespective of what they choose in Sort By, their Windows 11 PC reverts to the default option as soon as they exit and re-enter that folder. The issue was first reported around 8 years back with Windows 10 and has since re-occurred with the eleventh iteration of the OS. If you are also facing this bug, then this guide will help you out. Follow along for the fix.
- Windows 11 File Explorer Sort By not working FIX 1: Via Folder Options FIX 2: Use SFC Command FIX 3: Increase Folder View Settings Cache Memory Size FIX 4: Use Third-Party Apps
- UPDATE: Windows 11 Sort by Issue Re-Appears in Windows 11
Windows 11 File Explorer Sort By not working
It is recommended that you try out each of the below-mentioned workarounds and then see which one spells out success. So with that in mind, let’s get started.
FIX 1: Via Folder Options
- Launch File Explorer via the Windows+E shortcut keys.
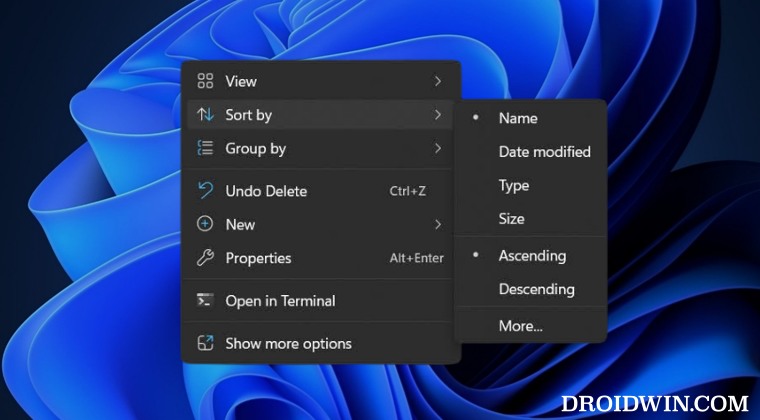
- Then right-click on an empty space, select Sort By, and choose the desired sort option.
- Now click on the three horizontal dots at the top and select Options.
- Finally, go to the View tab and click on Apply to Folders.
- Check if it fixes the Sort By feature not working in Windows 11 File Explorer.
FIX 2: Use SFC Command
System File Checker and Deployment Image Servicing and Management are two command-line utility tools that scan for corrupt Windows files and then replace them with their working counterpart. The major difference between the two is whereas the SFC replaces the corrupt files with the working ones from the cached directory on your PC, DISM does so by downloading the working files from the online Microsoft servers. And as of now, we will be making use of both these tools to fix the underlying issue. Follow along.
- To begin with, right-click on the Start Menu and select Windows Terminal (Admin).
- Then click on the down arrow present next to the new tab icon and select Command Prompt from the list.
- Once the CMD window is opened, copy-paste the below command to open the SFC Tool: sfc /scannow
- Once the SFC Scanning is complete, it’s time to use the DISM Tool. So copy-paste the below command: DISM /Online /Cleanup-Image /RestoreHealth
- Once DISM finishes the scanning, restart your PC and check out the results.
FIX 3: Increase Folder View Settings Cache Memory Size
You could also consider increasing the “Folder View Settings” cache memory size and check if it works out in your favor or not.

FIX 4: Use Third-Party Apps
If the Windows built-in settings aren’t able to get this job done, then you could opt for a third party as well. Regarding this, you could try out the WinSetView application and check if it works out in your favor or not.
UPDATE: Windows 11 Sort by Issue Re-Appears in Windows 11
Well, it seems that the bug isn’t going to leave us anytime soon as it has made its presence felt once again. However this time around it is in an Insider preview build rather than the stable, so it isn’t going to be impacting the masses. Moreover, issues like these are usually along the expected lines in such builds.

With that said, currently there’s no workaround that could help you mitigate this problem. With that said, you could expect a patch to be rolled out in the next beta build of the OS, though it might take a couple of weeks for the same.
- How to Hide Drives in File Explorer on Windows 11
- Add/Remove Folders to This PC in File Explorer on Windows 11
- How to Remove Duplicate Drives in File Explorer on Windows 11
- Slow File Explorer with mapped drive in Network Location [Fix]

(Cancel Reply)
Δ
