Yes Button Missing in User Account Control in Windows [Fixed]
In this guide, we will show you the steps to fix the missing Yes button in the User Account Control pop-up on your Windows PC. The UAC feature acts as an additional layer of security and disables any app or software to directory get access to administrative level tasks or directories. It doesn’t matter whether you are manually accessing an admin-level directory or a third-party program is trying to do in the backend, if there is a system-level interaction, the UAC will pop up and would ask for your response.
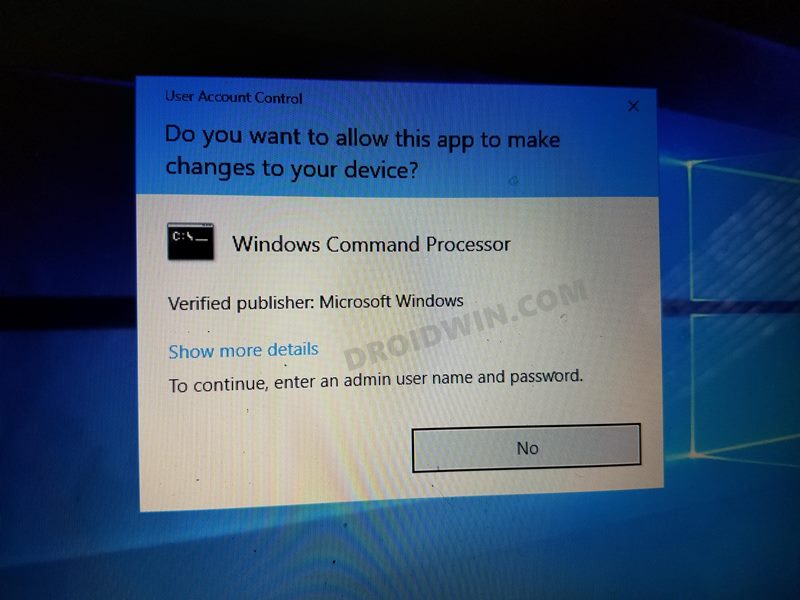
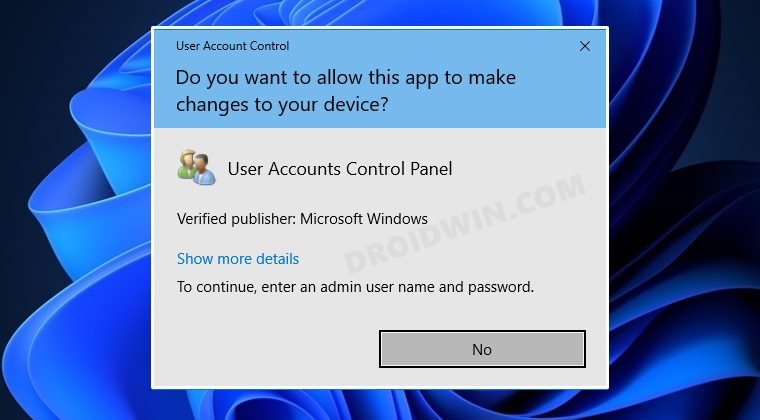
You may then reply accordingly by clicking on the YES or NO button. However, that is proving to be easier said than done for some users. They have voiced their concern that the Yes button is missing in the User Account Control pop-up on their Windows PC. If you are also getting bugged with this issue, then this guide shall help you out. In this tutorial, we will show you two different methods to rectify this issue once and for all. So without any further ado, let’s get started.
- Fix Yes Button Missing in User Account Control in Windows Method 1: Using Admin Account in Safe Mode Method 2: Via Windows Recovery Environment
Fix Yes Button Missing in User Account Control in Windows
We have listed two different methods to resolve this issue. Try out both of them and then check which one works out in your favor.
Method 1: Using Admin Account in Safe Mode
- To begin with, boot your Windows 11 PC to Safe Mode .
- Then head over to the Start Menu, search CMD, and launch it as an administrator.
- It will now ask for a password, leave it blank and click Next.
- We don’t need the password since the administrator account is already enabled/active in Safe Mode.
- Now execute the below command (replace User with your username): net localgroup Administrators User /add
- Finally, restart your PC and sign in to your account. The underlying issue should have been resolved.
Method 2: Via Windows Recovery Environment
- Press and hold the Shift key and then click Restart from the Start Menu.
- Your PC will now boot to Windows Recovery Environment.
- Select Troubleshoot > Advanced Options > Command Prompt.
- Now type in the below command in the CMD window and hit Enter: net user administrator /active:yes
- Then reboot your PC and open Run via Windows+R dialog box.
- Type in the below command and hit Enter to open User Account settings. netplwiz
- Now select your account from the list and click on Properties.
- After that, go to the Group Membership tab, select Administrator, and click OK.
- Finally, reboot your PC for the changes to be saved. Once it boots up the issue would have been rectified.
- How to Boot Windows 11 to Safe Mode when it cannot boot to OS
- Remove Microsoft Account from Windows 11 [3 Methods]
- How to Disable User Account Control in Windows 11

(Cancel Reply)
Δ
